Tuesday, March 12, 2024

Packing Bearings

My first job out of high school was working at my uncle's trailer sales and service business in Helena Montana. Over the course of that seven year stint, I packed a lot of wheel bearings. It was a dirty job, but I always enjoyed it. 


Packing wheel bearings is standard trailer maintenance. Not every year for sure, but maybe every 10k miles or so. A lot of these new trailers have easy-lube hubs, which allows a guy to keep fresh grease on them periodically. That does have drawbacks, in that the hub capacity can only hold so much grease. Once full, out the seal it goes. Dave wanted to get a fresh start on this tandem axle trailer of his. 


The first step is to pop the dust cap off. Try your best to not beat on the cap. A chisel right next to the hub works the best. 


She's full. There are a lot of different nut keepers these days. Used to be just cotter pins. 


This one had a fancy snap rig style keeper. It just pops off. 


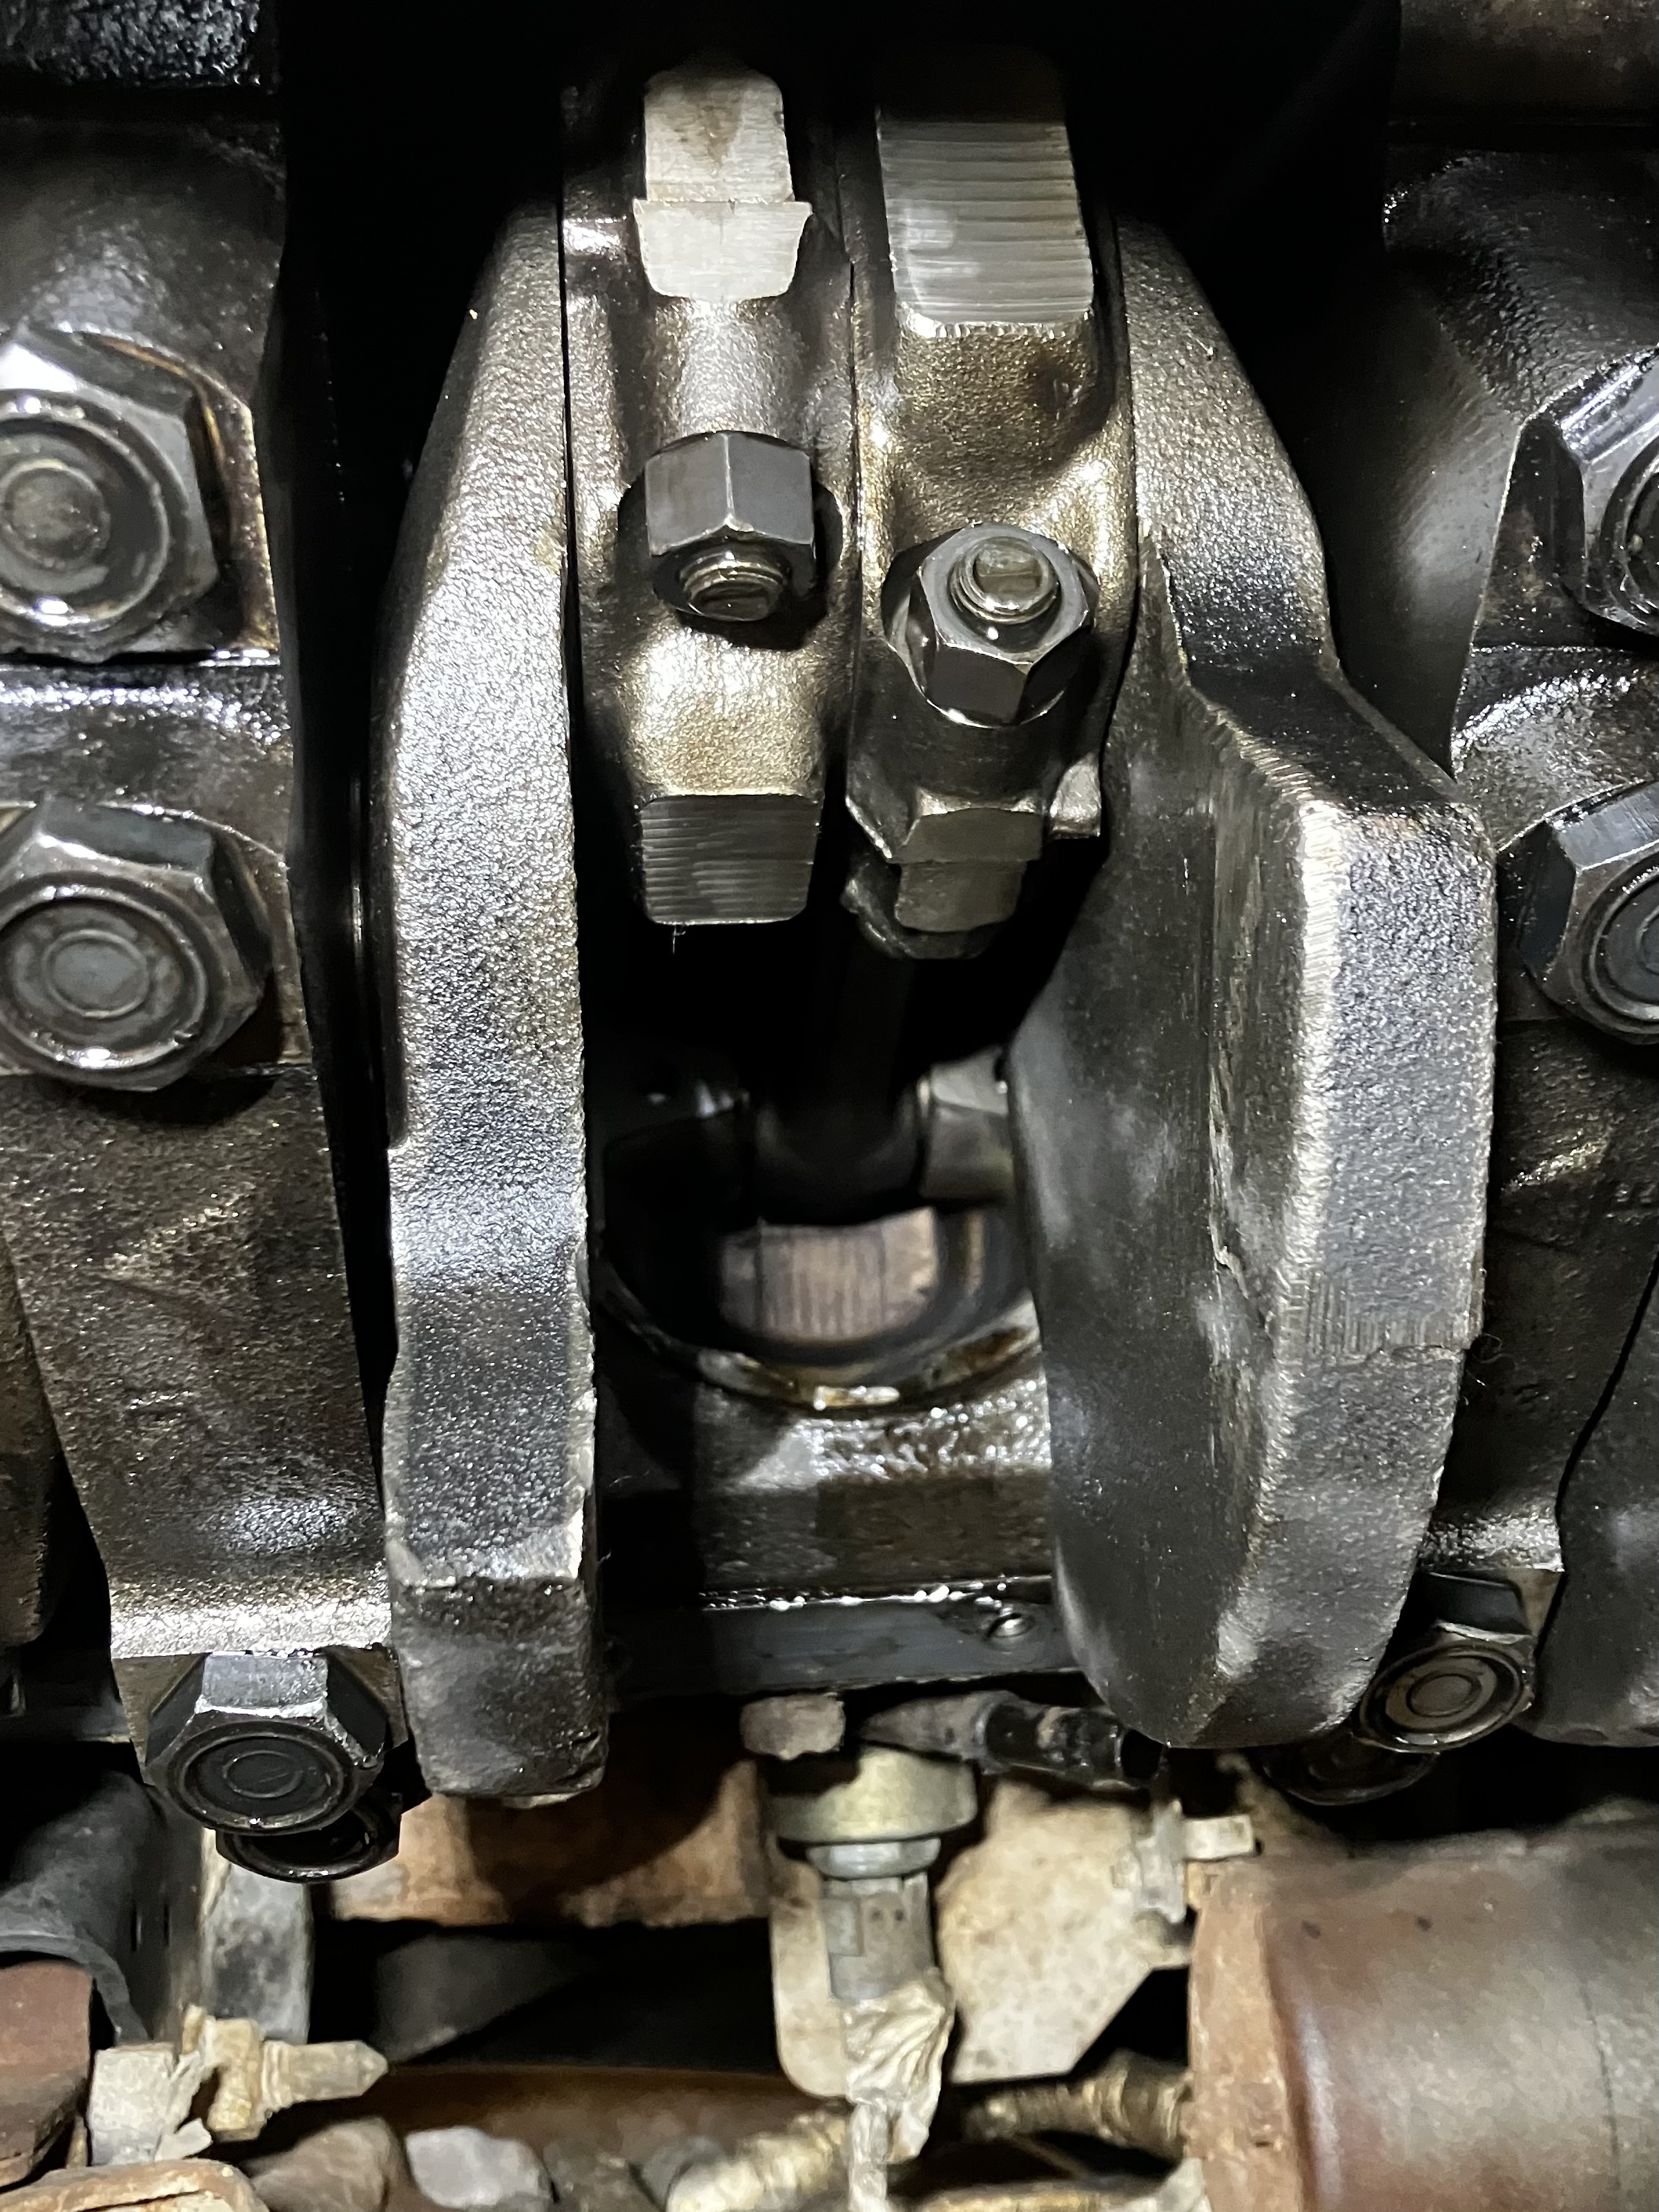
Once you back the nut off, the outside bearing pops right out. 


This is not uncommon with easy-lubes. It's still salvageable, but going to take some tending to. 


The grease on the bearings themselves is pretty clean, with no sign of dirt or water. So we are not going to clean them with solvent. Rather, just pack new grease in them. 


First step is to pop the old seal out. I find a crowbar works the best. 


After you remove the inner bearing, it's good to get rid of all the old grease stored up in the cavity. 


A good multipurpose grease serves well for wheel bearings. 


Just put a blob in one hand and keep pressing the bearing into it with your other hand, until the old grease starts to purge out of the top side. Then she's packed. 


Once packed, it's time to install the new seal. Good seals will have a spring around the inner lip. These should be for sure used on easy-lube hubs. 


It's best to pack grease around the inside of the seal on this spring style, so the impact of installing the new seal doesn't cause the spring to jump out. This is also a good opportunity to lube the actual seal surface, where it meets the spindle. 


Using a hammer to install the new seal works pretty good, even if it is a claw hammer! Just barely start one point in the hub and tap your way around the rest of it. She'll seat fine. 


That hub was pretty greasy. So spraying some brake cleaner on a rag and wiping it down good works well. 


Should work. 


All that grease is pretty easy to tend to with some solvent or gasoline. 


The brake shoes you really want to scrub down if they are greased up. 


Again, brake clean works well here too. 


Then use a wire brush to really work it out. 


Not bad. But grease is deceiving. It can go deep in a brake shoe, and once warmed up can work it's way to the surface and make your wheel skid or not brake well at all. An old farmer trick is to soak the shoes in diesel fuel over night. After removing them, light them on fire, burning out all the old grease. Brake pads are heat resistant, though I would not let them burn too long. Works good in a pinch, though.


Having your hubs torn down is a good time to check the brake magnets. Most utility trailers run electric brakes. When power is sent to them, they magnetize to different degrees, causing the arm to drag, camming the brake lever over, which pushes the shoes against the drum. If a wrench will stick to them when powered up, they're good. 


Here you can see how easy-lube hubs work. From the zerk, grease is pushed through the spindle to a back hole, getting grease to the inside bearing without removing the hub. You can see how easy it is to blow out a seal. I recommend no more then 5 pumps from a gun a year. And after 5 years of that, your hub capacity is full and your seal is gonna go. Time to repack them. 


Reinstallation is just reverse order. Make sure and rotate your hub as the new seal is going over the spindle surface. 


This is about the only technical part. Use a wrench/pliers to set the bearing down hard. Rotate the hub several times back and forth to seat the bearings. Then back it off and move it it until it just makes solid contact. No torquing it down. With the old cotter pin style, you would have to move the nut back or forth to find the nearest hole. In that case you always run a nut looser rather than tighter. A tapered bearing and race will always meet up if loose. Too tight and they'll create friction and go out. 


This new clip style allows you to set the nut wherever it is best. Which again, is right at the point of contact after the bearings have been seated. 


Push her on and you’re good to go. 


Again, don't hammer directly on the dust cap. Tap around the lip until it seats against the hub. 


Done.

Most people are capable of packing their own trailer wheel bearings. I find it fun. If you remember anything from this, don't run them too tight. A little maintenance goes a long ways. The last thing you want is to start a grass fire because a bearing went out and you are throwing sparks in the ditch. Besides, you don't want to break down and be late to the dance. You can pack your own trailer wheel bearings. Just be prepared to get dirty. 

Bethesda

Give me some of that Living Water.


Friday, March 8, 2024

Shadetree Mechanic

There comes a time in every cowboy's life when he has to trust his gut and go against the grain. Such was the case when Ranch Truck went to knocking last summer. Gathering all the advice we could, we set out to bring her back to action. Let's just say, we got the job done.


One morning Dad fired this 1998 beauty up and bam! The engine started knocking. Not a fun knock either. More like, shut it off and call Bryce. 


This Vortec 454 has been tough, but not trouble free. They are notorious for lifters going out, which I had replaced years ago. 


We looked into the lifters but the sound was deeper, more like in the bottom end of the engine. We were pretty much convinced that it was a rod bearing. 


Here's were the discernment came in. Most of my mechanic mentors said, Don't even bother with it, pull the motor. We were open to a different engine, but there were a few other factors to take into consideration. Putting a new engine in her, for no less than 3k, would be like putting new wine into old wine skins. Rebuilding this one would be cheaper, but who has the time. Finding a used engine from a junkyard was impossible, they're all taken. And, we still didn't know for sure what was wrong. So we decided to pull the pan and take a looksee. 


I've heard of truck hoists, but Dad and I prefer creepers. 


First step was to drain the oil. Right away it struck me as smelling like gas. Note to self.


Then we got the front driveline out of our way.


All this in an effort to drop the front differential so we could get to the oil pan. Chevy's are great, with their independent front suspension. Once we unbolted the short axles, the diff should drop right out. 


Sure enough.


Then on to the oil pan. The bolts were easy to get to. And once loose, she came straight down.


At first glance, nothing. All the rod bearings looked good and tight.


Then we found these two chunks of metal in the pan. We were on the right trail. 


Eventually we found it. On #8, the crank shaft was going up and hitting the bottom of the piston. Interesting. 


Here's why, a bent connecting rod. But how did it get bent?


The whole time we were working under here and bumping the starter, gasoline kept pouring out of that cylinder. This oddity got us thinking. The only way a connecting rod would bend in this scenario, is if fluid got on top of the piston, causing it to hydraulic on the up stroke. A small amount of fuel with a lot of air will compress like it should. But a bunch of fuel and little air would hydraulic and bend or break something instead of reaching its full top-dead-center. We got to thinking that if the injector was bad, and wouldn't shut off properly, it could have this effect. This also made sense, since the truck had been flooding on us when we'd start and stop it often. We were on to it. So we devised a plan much to the chagrin of contemporaries. 


Most mechanics would still replace the engine. Others would at least change the connecting rod. Us, we just ground down the crankshaft so it wouldn’t hit the piston and went back to work. 

Now, you got to cut us some slack. Pulling the piston would obviously been a lot of work. But once you had the head off, would the wear lip around the top of the cylinder on a 200k mile engine let the rings pass by? Also, there was so much metal that ran through the oil system already, you might as well change the rod and main bearings too. Where does the can of worms end? 

This is a ranch truck. She probably goes to town twice a year. It obviously runs with the bent rod, it just knocks. What damage is going to be done by grinding the crank? Getting metal in the system? Already has it. Unbalancing the crank? Sure, but will it be noticed. The other reality, no other option would likely ever get done. I get 24hrs of leave a week and spring time is coming. We have other things to do. Our conclusion, we've got nothing to loose. 


So we cleaned up the bottom end and the oil pan.


And started going back together with everything underneath. 


Then we tackled the injectors up top. 


We changed all 8 while we were in there. 


That was not an easy chore, in itself. But patience prevailed and we got it all put back together. 


Runs good. There was a bit of a tick when it first started. No surprise. We didn't take off more of the crank than we needed to. But we figured we'd let the two find their happy mating surface. After getting it good and warm with a trip up the creek, sound was solved. She runs good, and better than before with new injectors. 


Ranch ready.

I don't consider this redneck. I think we were just being practical. With new injectors that rod isn't going to bend anymore, especially with the compression being less because it can't reach TDC. The crank is probably out of balance. But it is 25 years old with 200k miles on it, it's probably been out of balance. Besides that, she's back in action. Any other remedy would probably never get done. It'd be expensive and take time we just don't have. I'd be willing to wager though, in 15 years old betsy will still be ranching around the place. On to the next one.

Wall Hanging

Parish life at St. John the Baptist is great. The people, the church, the staff, the area... are all wonderful. However, it has the old scho...