God doesn't call the equipped, He equips the called.

Sunday, July 14, 2024
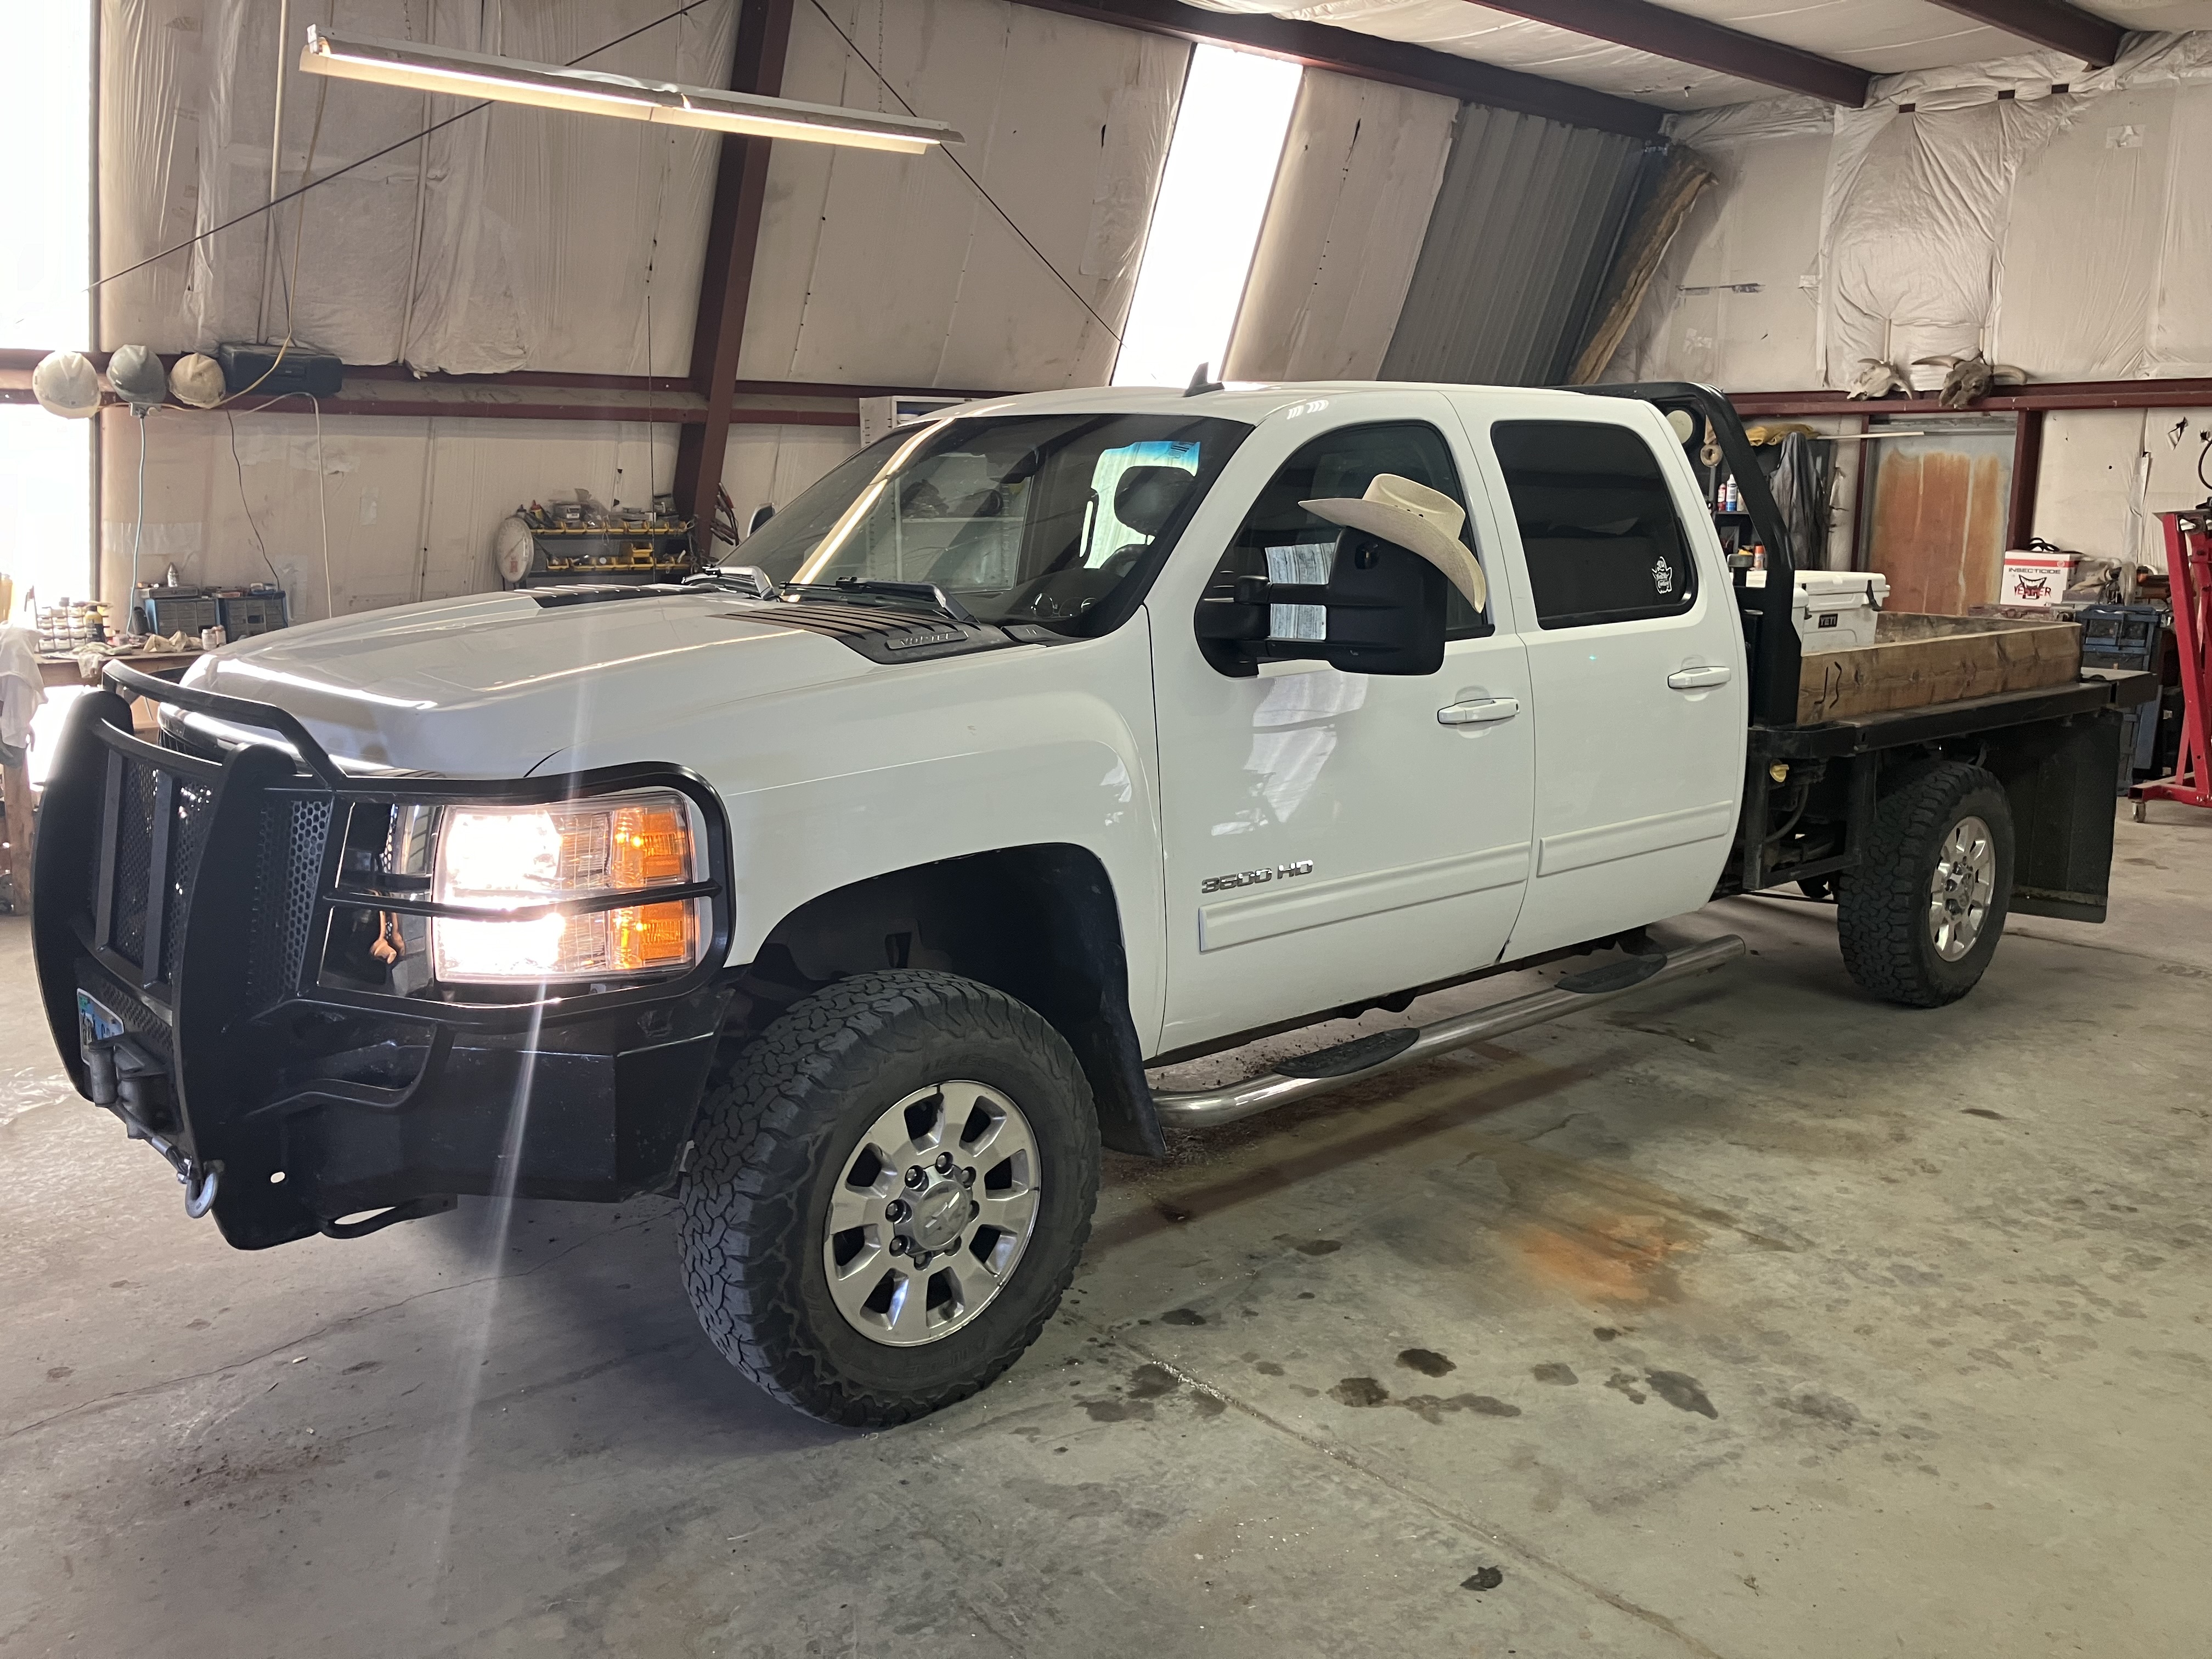
Friday, July 12, 2024
Brace Post
If you want to build a good fence, you have to start with a good brace post. They come in many shapes and sizes, but the effort you put in your brace posts will determine the longevity of your fence line.

Today we set out to build an H-brace. While ranching in Montana, we built a lot of Jack-braces. Those just had one vertical post and a diagonal post that drove into the ground. Whatever the style, the point of a brace post is to stand strong as the rest of the fencing is stretched off of it.

Years ago, when we had the pivot sprinkler set up, it ran into the neighbors south fence line. He was generous enough to just move the fence so we could keep farming. Now that our pivot is where it needs to be, we can rebuild the fence in its proper place.

When we had the post driver on the tractor we set these two posts in the ground. Most brace posts are built out of wood. But when you have a little pipe laying around and a welder handy, you might as well use steel.

Once the vertical posts are set, the horizontal pipe needs to be saddled.

Clean it up good. The more work can do before you head to the field, the better.

Safety first. This dry grass is like gasoline to a welder's spark. Dad took time to water things down before we got to work, then was on fire watch until the job was done.

Finding the right heat in pipe welding is key. The fine tune selector really helps us dial it in.

A lot of times I'll just weld over the rust. But in a scenario like this, it makes sense to weld it right.

Once set, we welded it in place. There is always the question as to whether to run the pipe with the contour of the land are set it level. We opted for level.

Should hold.

Giddy up.
If you build an H-brace out of wood, you need to run wire from corner to corner to keep it tight. With steel, there's no need.
It may look simple, but this brace post represents a lot our our little ranch. All the work we have done on the corrals began with the need to move the pivot sprinkler out of the neighbor’s pasture. We've arrived. One small step for a rancher. One giant leap for the ranch. Good fences do make good neighbors. But if your want to build a good fence, you better start with a good brace post.
Thursday, July 11, 2024
Brakes and Shocks
Spending a few days of vacation in July in Worland may not be the coolest place to be. But it can still be productive. Days like this, we ranch in the morning and find a shade tree or mechanic in the afternoon. Today it got to 102. Not a good day to be building fence. So, to the shop we go.

I had brakes put on White Horse a couple years ago. My biggest beef with the job is that they put on ceramic pads. Maybe in some situations they work well, but not on a ranch truck. They seemed to just slide and not really grab and stop. So I tried some regular Napa HD pads on the front about a year ago, and problem solved. I've been wanting to replace the rear, but haven't found the time until now.
The deal with front brakes is that they do most of the work. So I knew they were being over worked. If I were to just put new pads on the rear, they would be way out of sync with each other, wearwise. Thankfully, the front and rear pads are the same. So I set out to put the front pads on the rear and put the new pads on the front. It's complicated.

So we stuck all four in the air. When working with weight like this, take no chances. Make sure your jack stands are rated for the job.

Then pull the wheels off and see what we got. Air is out. Cordless is in.

A lot of brake dust on the front.

And little to none on the rear.

The rotors look real good. When I had the brakes done a while back, they turned the discs and trued them up.

Before you pull the caliper, do your best to retract the pistons. This will pay off on the reinstall, especially if you're putting on new pads.

Then bust the two bolts loose.

Some times you have to use a cheater pipe, if they're too tight and you need some extra leverage.

Here's a look at the front vs. the back. Not a lot of wear difference.

But the ceramic pads have quite a glaze to them and plenty of heat cracks. They're gone.

Pretty much install the new pads in the same way the old ones came out.

And tighten them up. The calipers need a little wiggle room so they are never going to be ridged. The bolts need to be good and tight, 90 foot pounds or so. But their job is to keep the caliper in position so it keeps itself centered as the pads go in and out, and wear down and such.

Then to the shocks. I've never changed the shocks on this truck. It's a ranch truck, it's supposed to ride rough. But getting the bounce effect out of it would be nice. So while the wheels were off, we tackled the shocks as well. Side note, if shocks show signs of oil leakage, they're shot.

Napa is my go to parts store if I can't afford OEM.

Look pretty. HD of course.

Save yourself time. Use power tools when you can.

Swivel headed ratchets can't be beat.

I found that if you put the bottom bolt in first you don't have to fight lining it up later.

Tighten all the bolts up, good and sound.

Looks better.

The back were even easier.

Once you cut this strap, be ready to stab your bolt in. If you miss it on the first try, like I did, it can be recompressed by hand.

Once the brakes and shocks were done, it's time for rubber. This is a good opportunity to rotate the tires. I generally go back to front, and front diagonally to the back. These BFG's are holding up good. They might even make it through the winter.

If you use impact tools to drive the lug nuts on, don't hammer them on. Ideally, tires should be torqued on. Especially tires with disc brakes. This helps prevent rotor warpage. I'll usually zip them on flush with an impact, then try to put the same torque on by hand. Truck lugs like these can handle about 110 foot pounds.

Good time to adjust the tire presser as well. Believe it or not, there is such thing as winter air and summer air. Air expands in the heat causing more psi., and contracts in the cold, causing lower pressure.

Back in business.
I do enjoy turning a wrench. Trucks will run a long time if you keep them maintained. Shocks can be overlooked because they have to do with the ride, but they also help in highway handling. The brakes... not something to compromise. If you drive right, you can make brake pads last a long time. But before thinking about longevity, you have to think effectiveness. Ceramic pads might work well in NASCAR, but not pulling a horse trailer. We're back in action now and ready to run. But more importantly, ready to stop!
Wednesday, July 10, 2024
Spark Plugs
Basic engine tuneup usually consists of new plugs and wires. Used to be, if you could get 100k miles out of a set spark plugs you did pretty good. I changed White Horse's plugs at 125k but didn't feel the need to change them again until now. With 325k miles on her, it seems like a good time for new spark plugs and new plug wires as well.
This 6.0 is still strong. No hiccups in the last 12 years. About every 5k miles she burns 1/2 quart of oil.
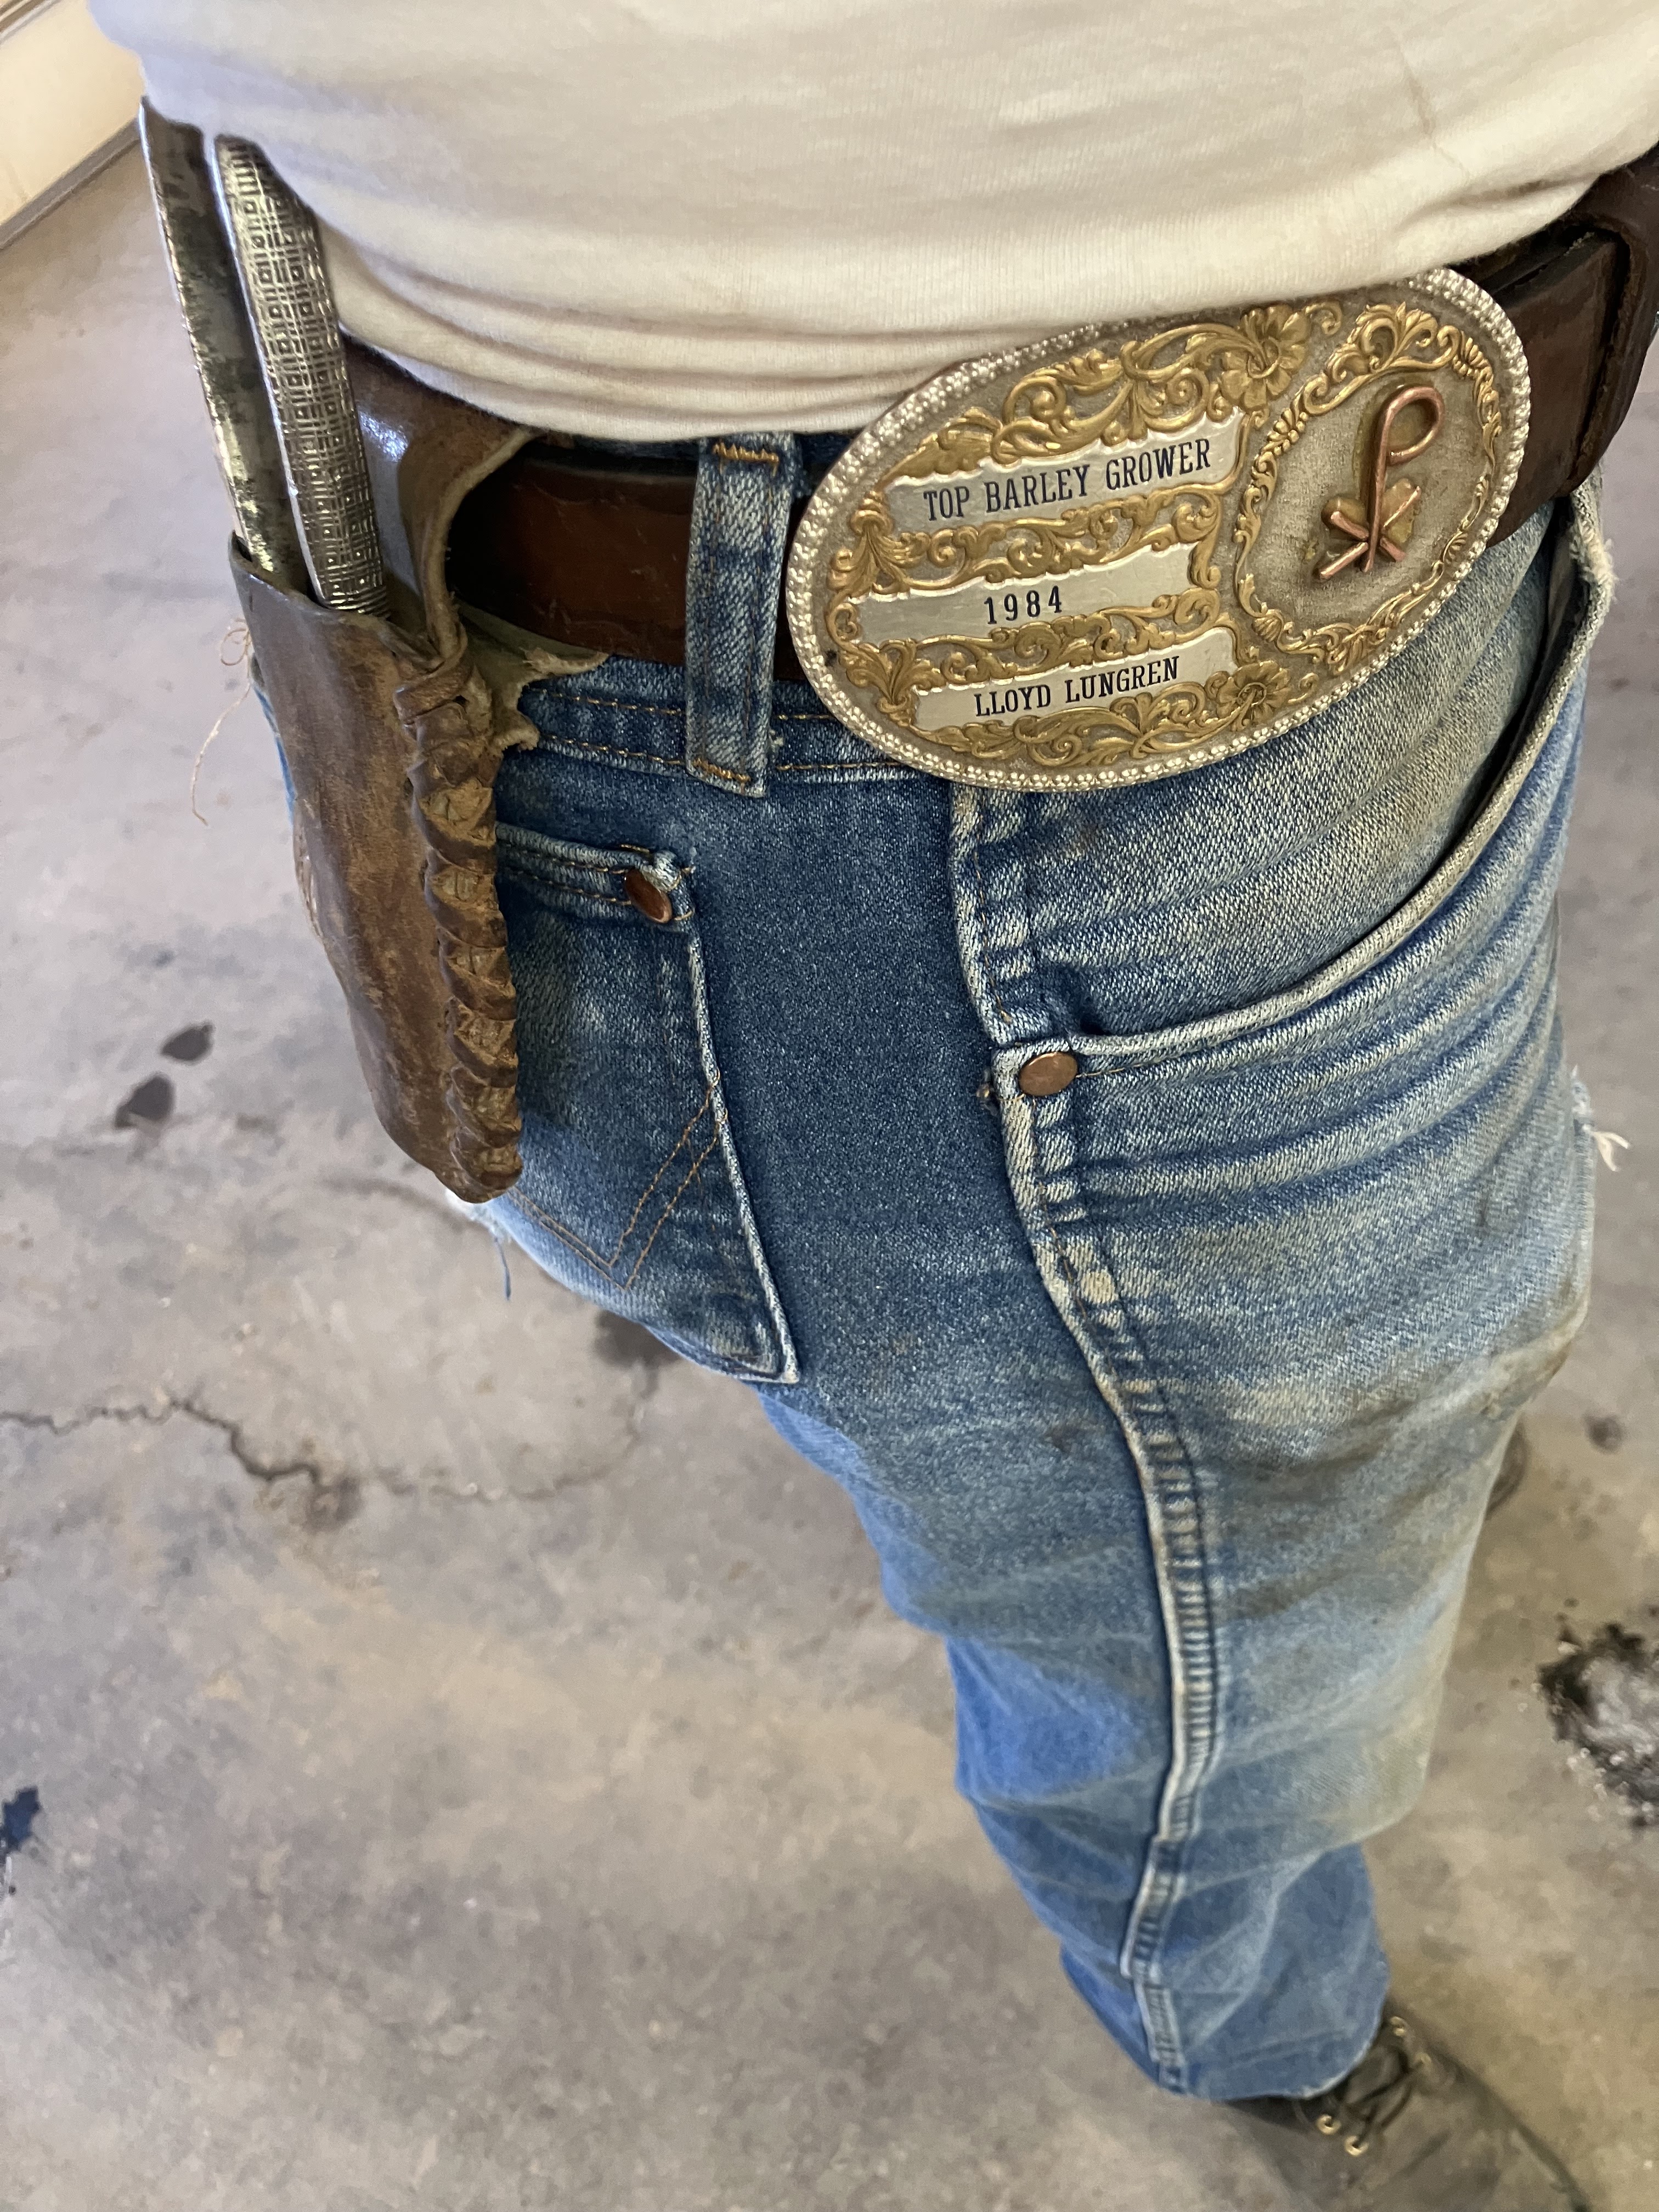
Here's a little mechanic's trick. When working over the fender, quarter turn your belt buckle. You won't scratch your truck paint and your britches will still stay up.
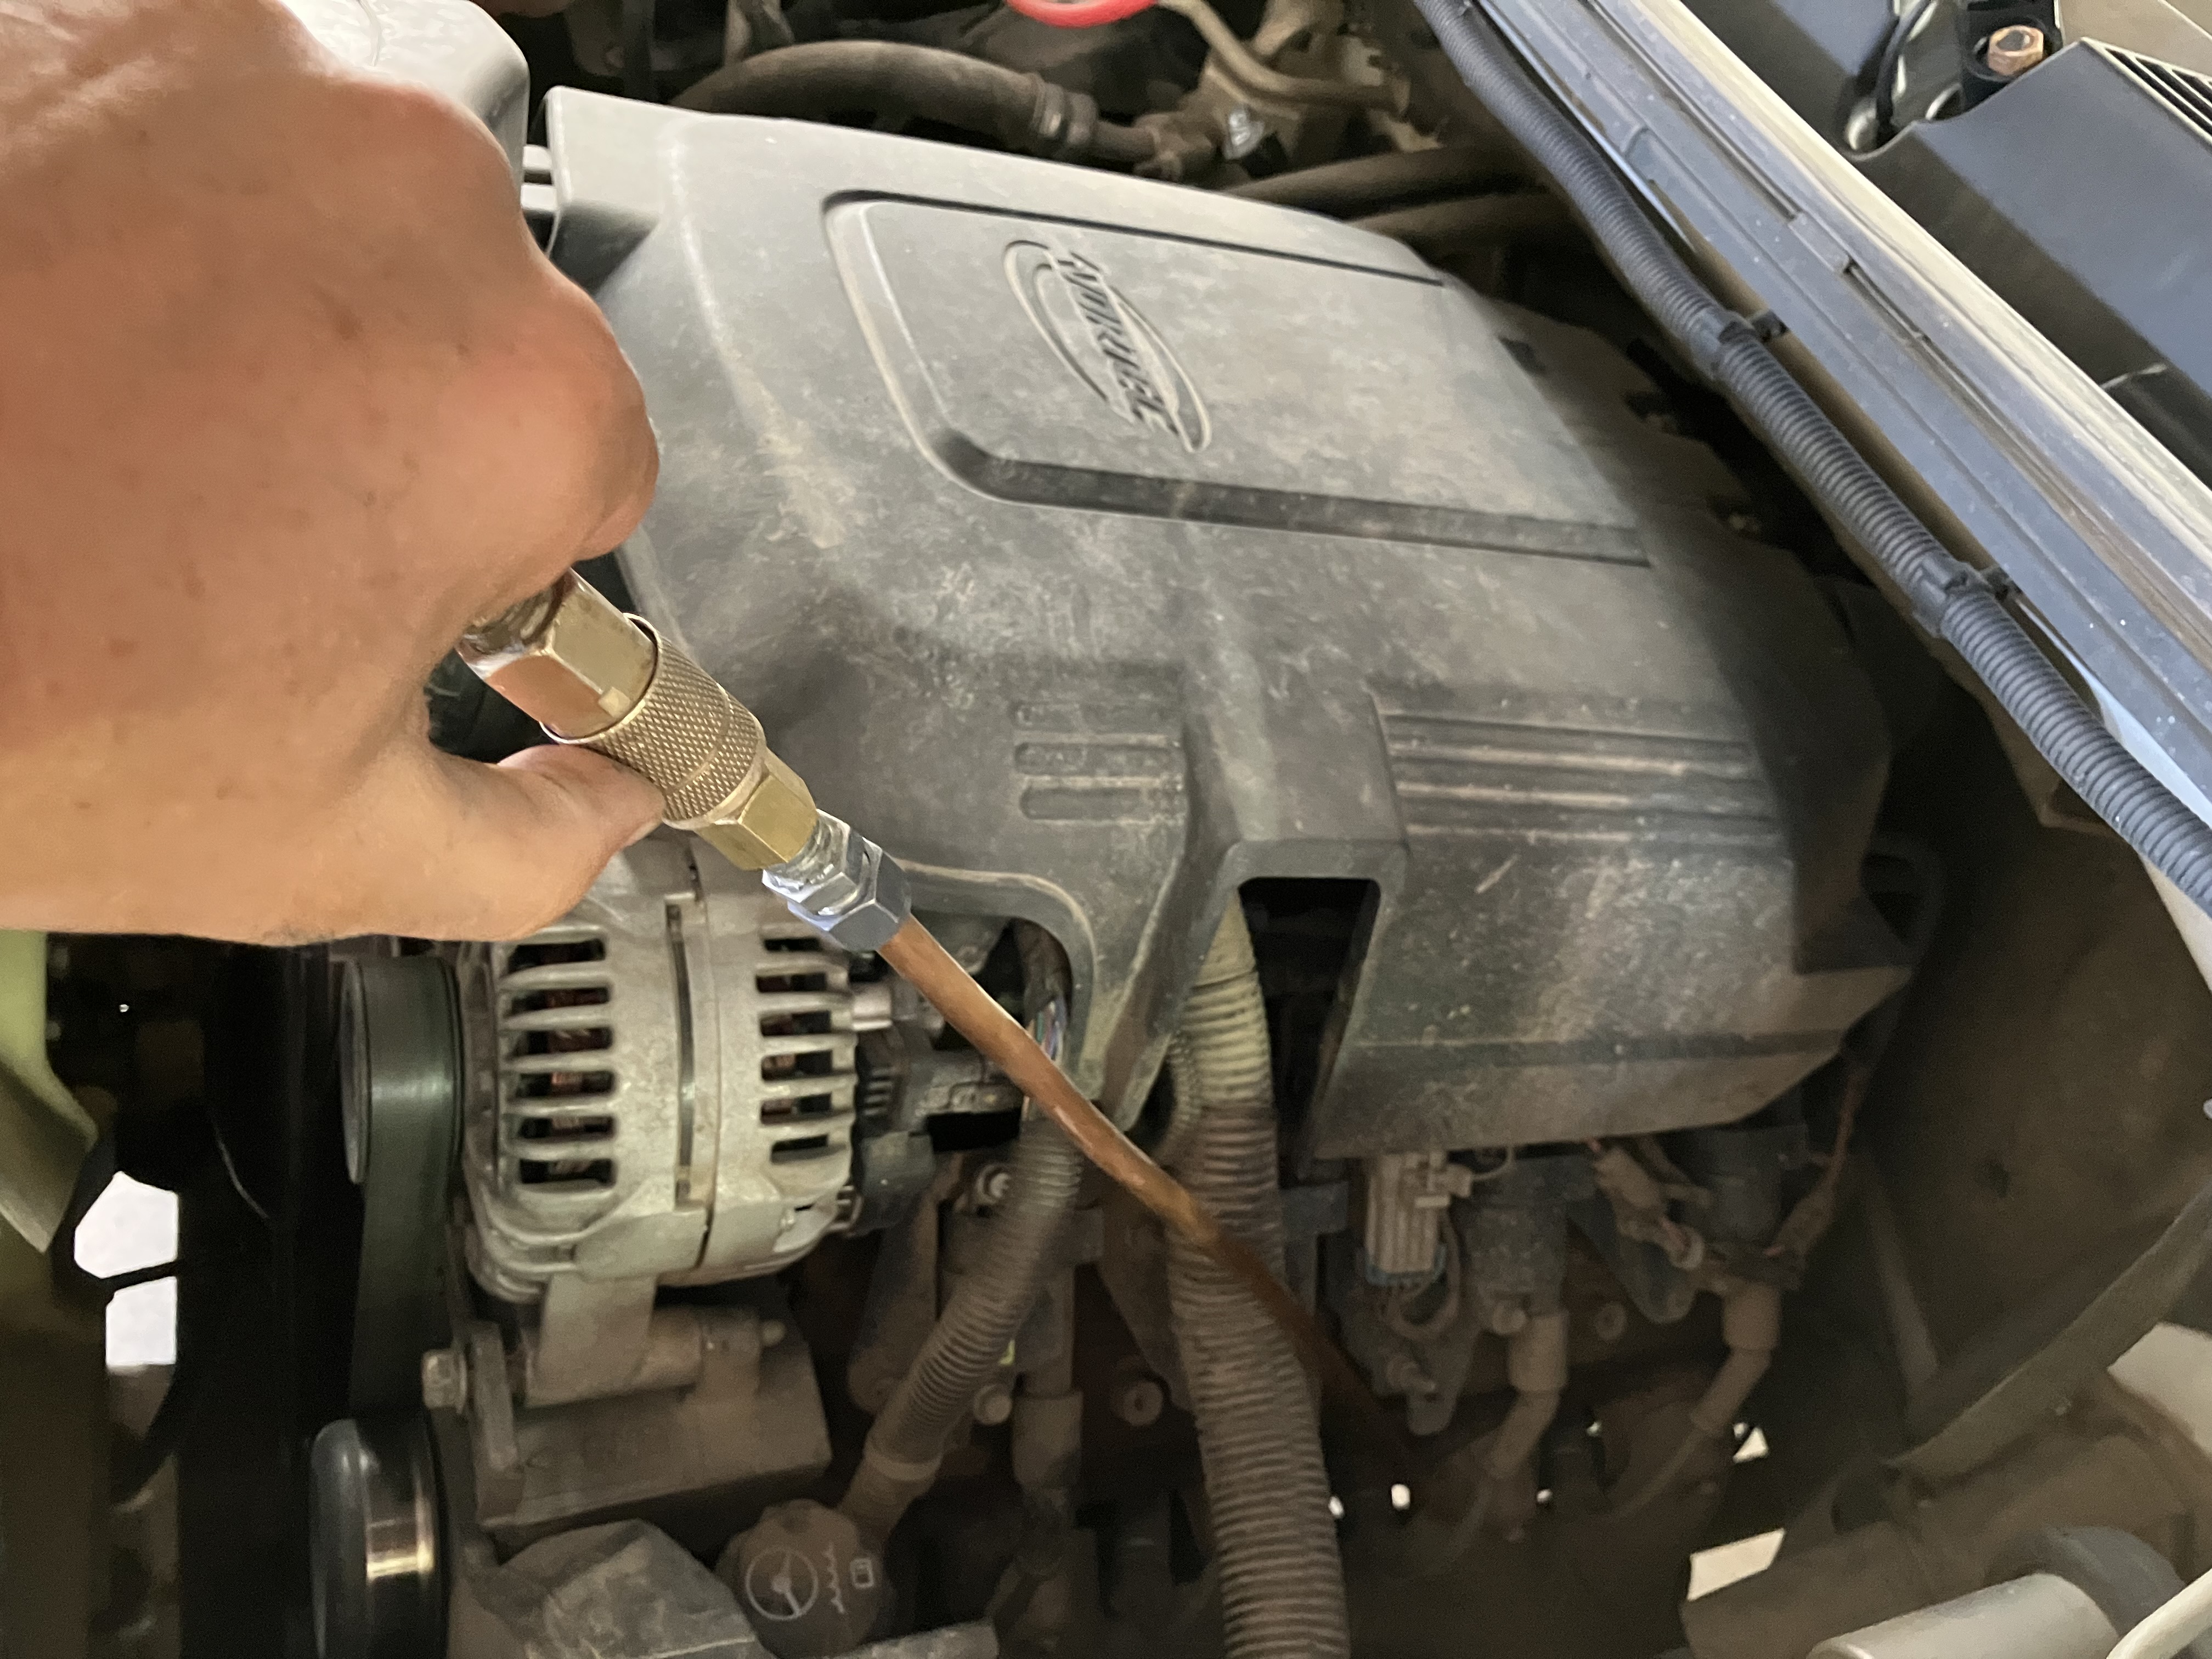
First thing I do before I work on spark plugs is blow all the dirt away from the plug port on the cylinder head. This is a good idea because when you pull the plug out or put it back in you could drag dirt into the combustion chamber.
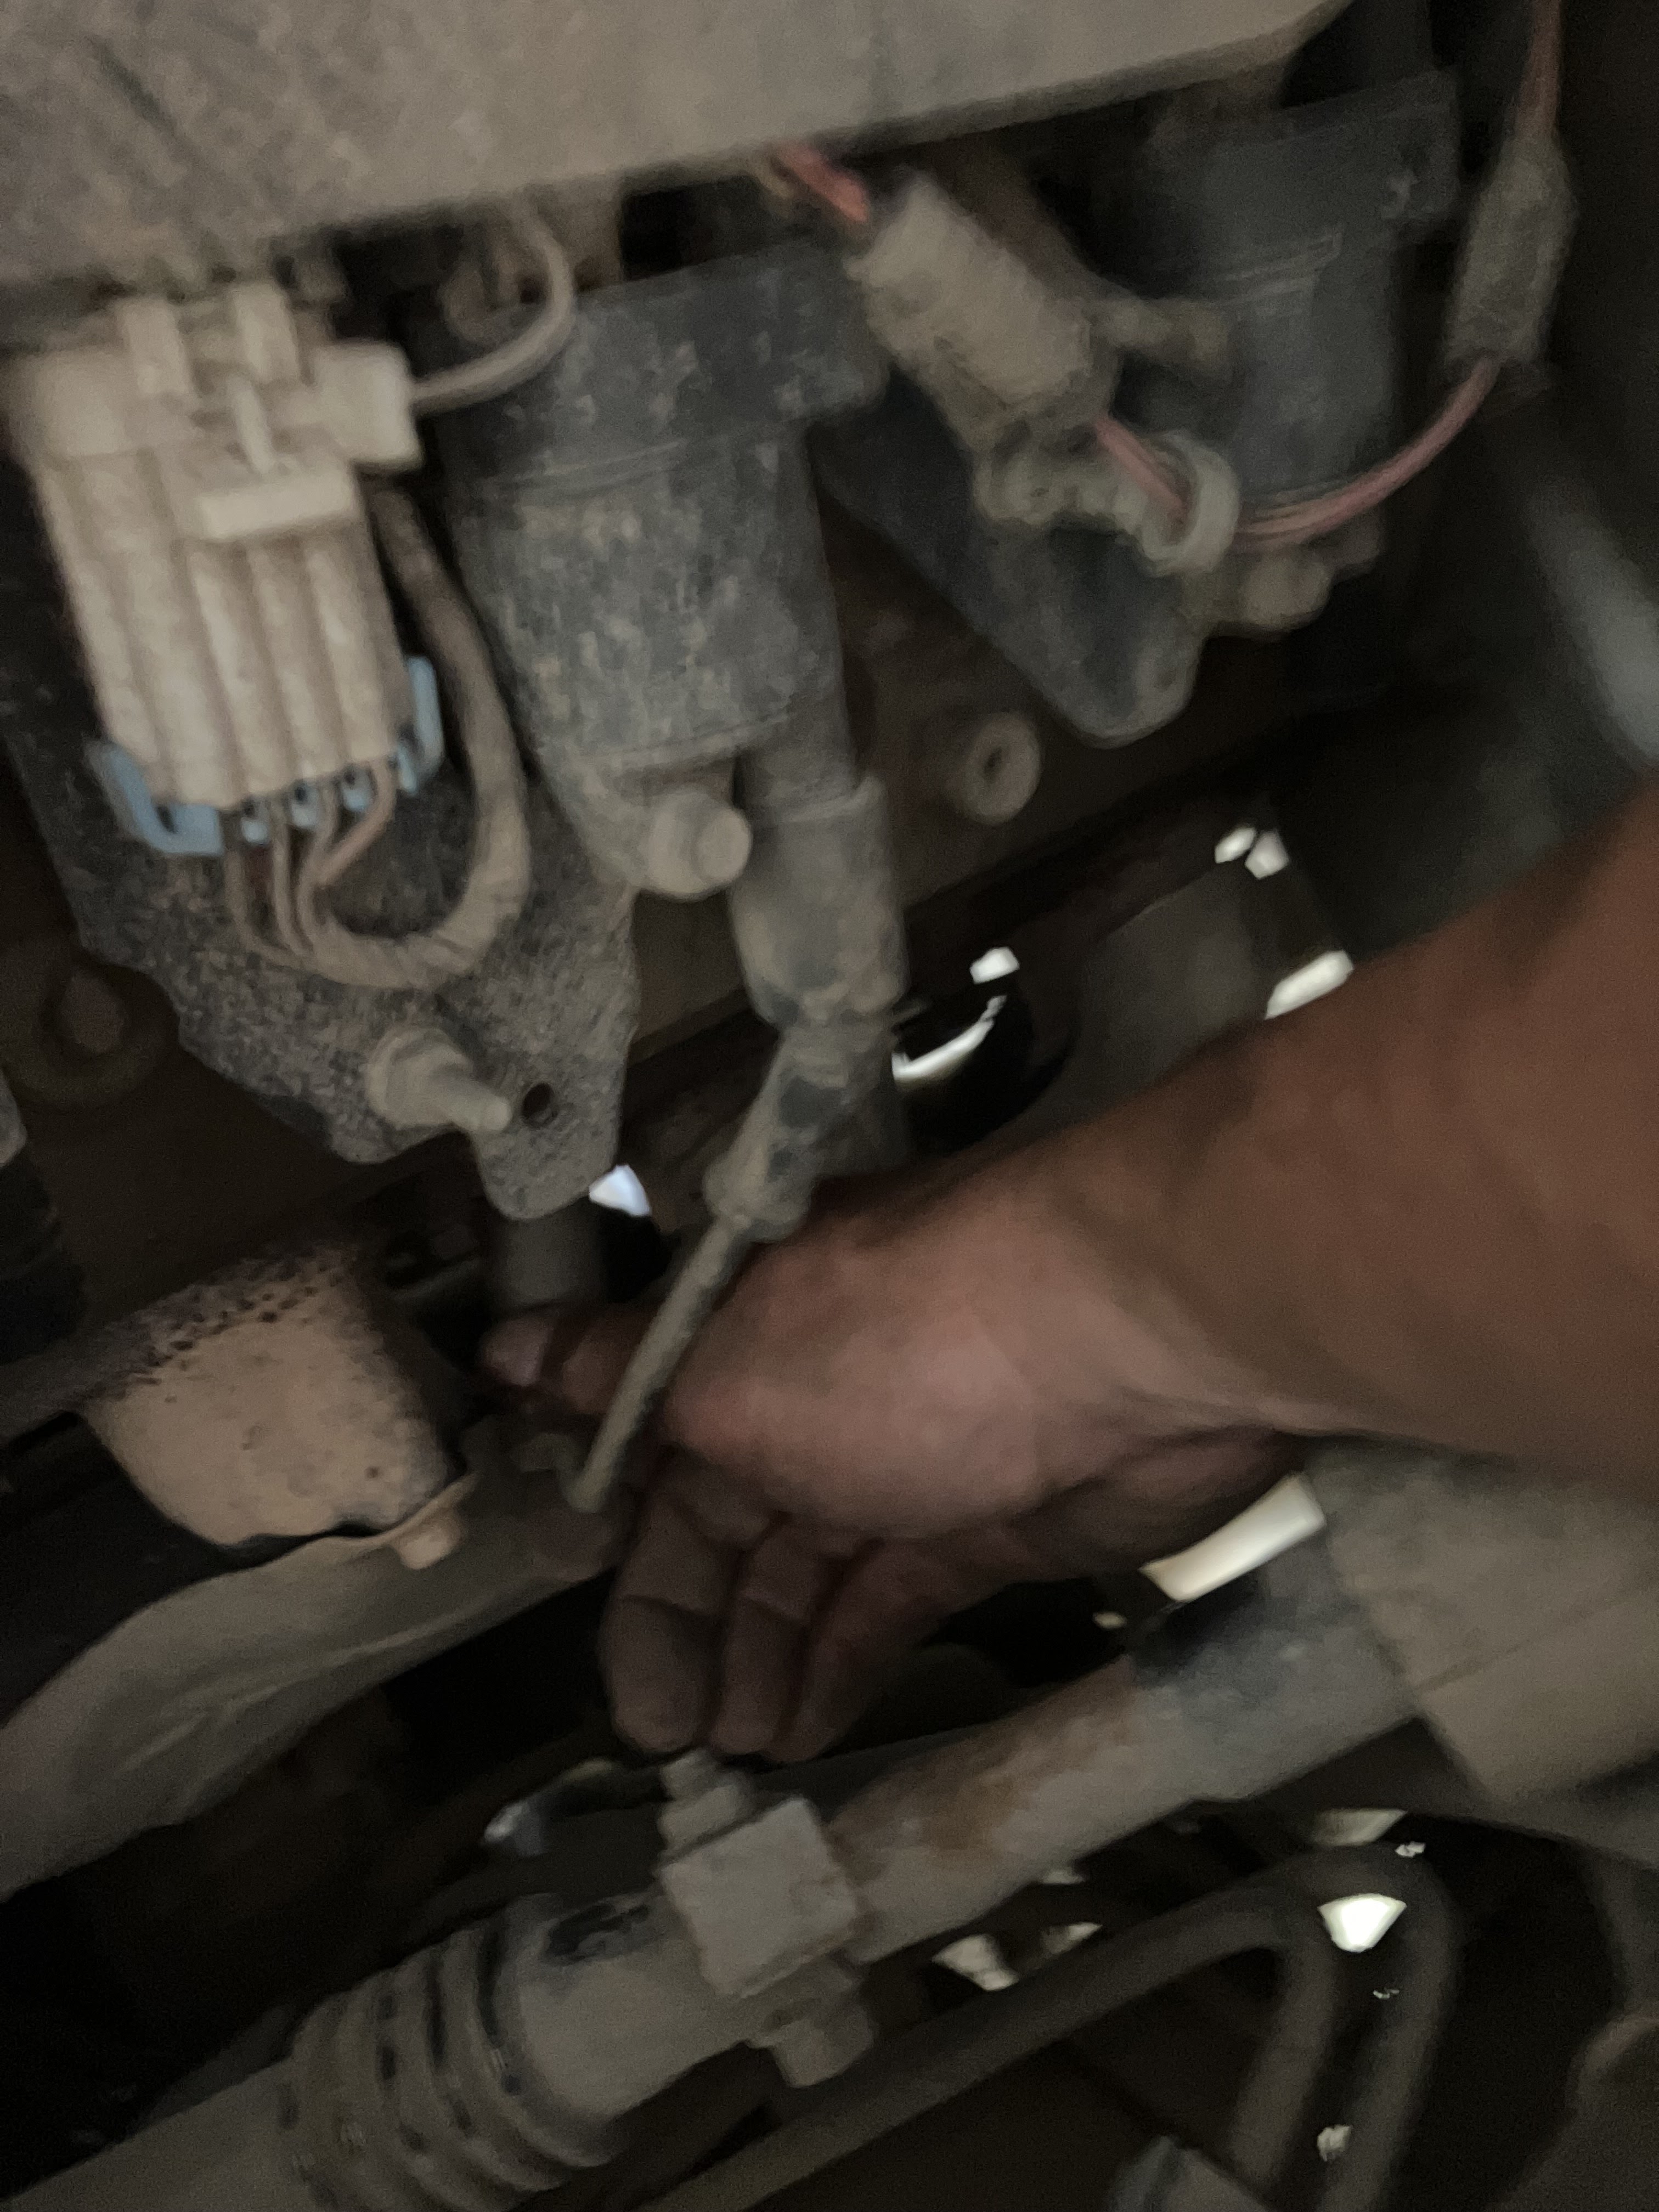
Pulling the wire off the plug is one of the hardest parts. Try to avoid pulling on the wire itself. Grab and wiggle the cap over the plug and you should be good.

They make actual spark plug sockets that have a rubber grommet inside that centers and protects the plug. I like to shoot a little WD-40 on the rubber so that it slides on and off easier.

Breaking them loose can be tough. Just get a good grip and watch your knuckles.

Here you can see the old and the new. Definitely needed to be changed. I'm actually surprised these old ones still sparked with a gap like that. Most plugs come pre-gapped with the right tolerance. Though, it's not a bad idea to double check them. I didn't on these.

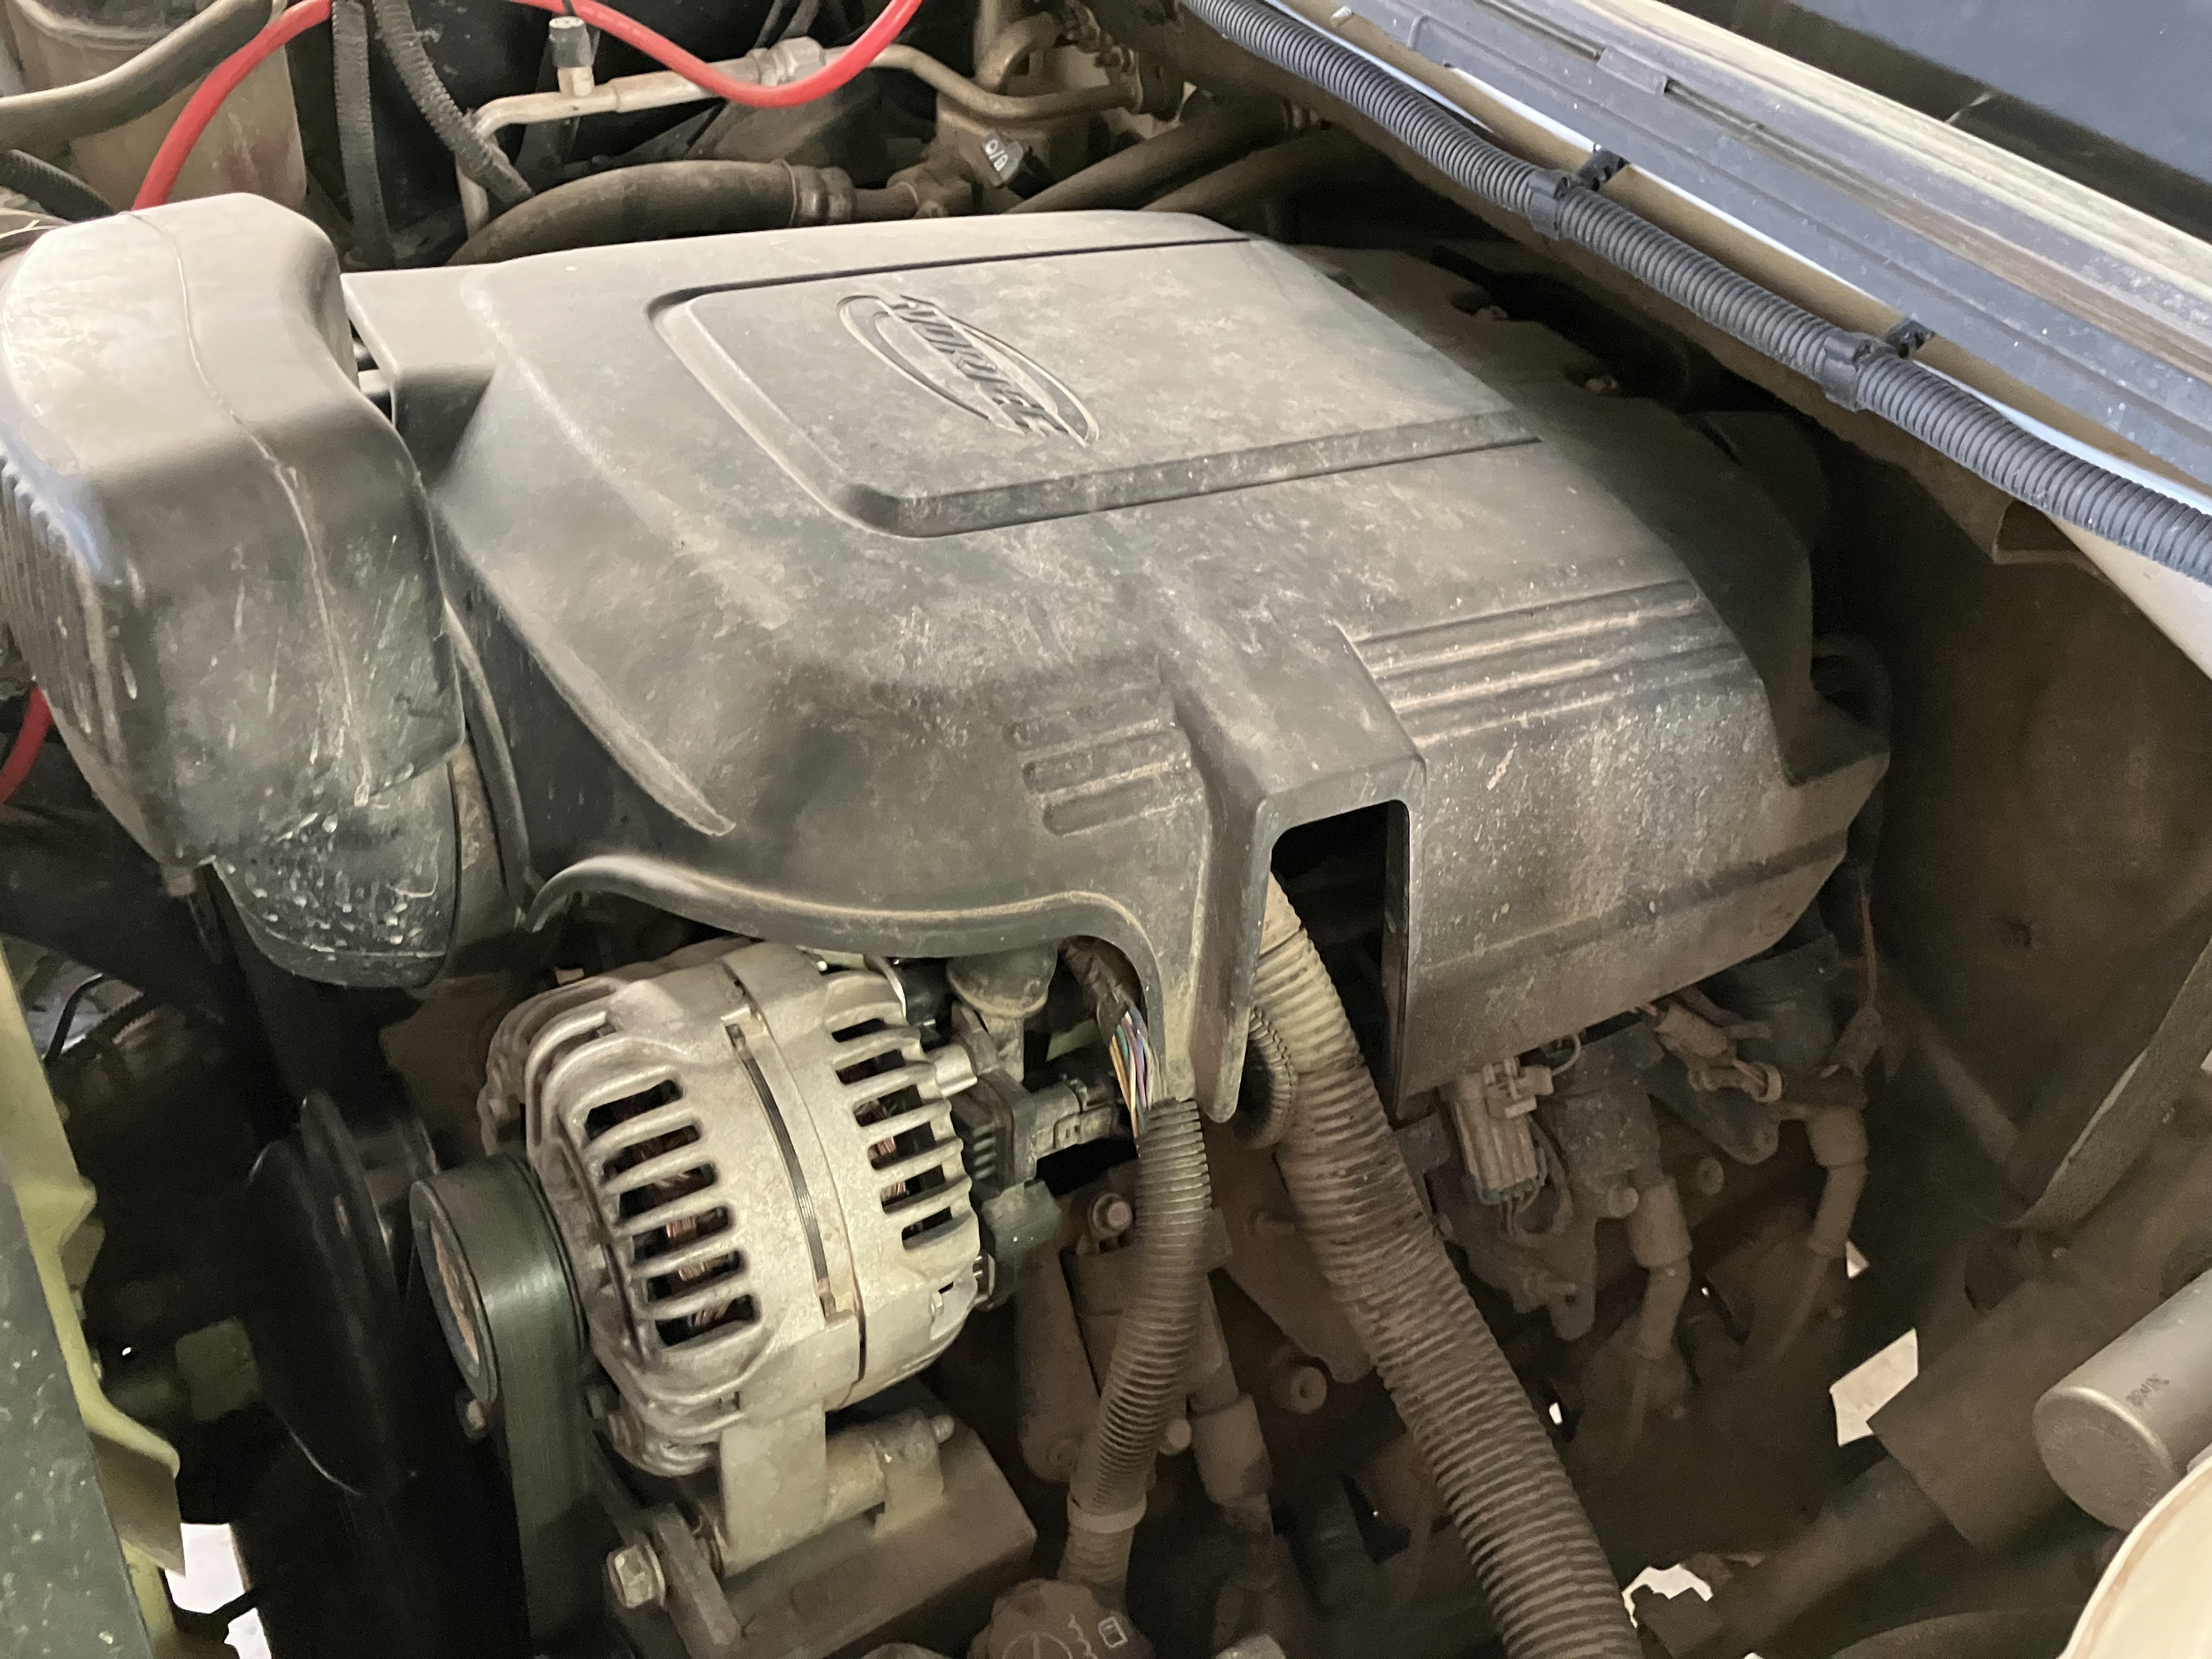
Chevy has been running their small block V8 since the 1950's. I'm sure this 6.0 has some tweaks since then, but it's basically the same blueprint. Four sets of plugs on the drivers and four on the passengers. There is less clutter on the drivers side, but you have the steering shaft to contend with. On the passengers there's plenty of hoses and more. A light is usually of help.
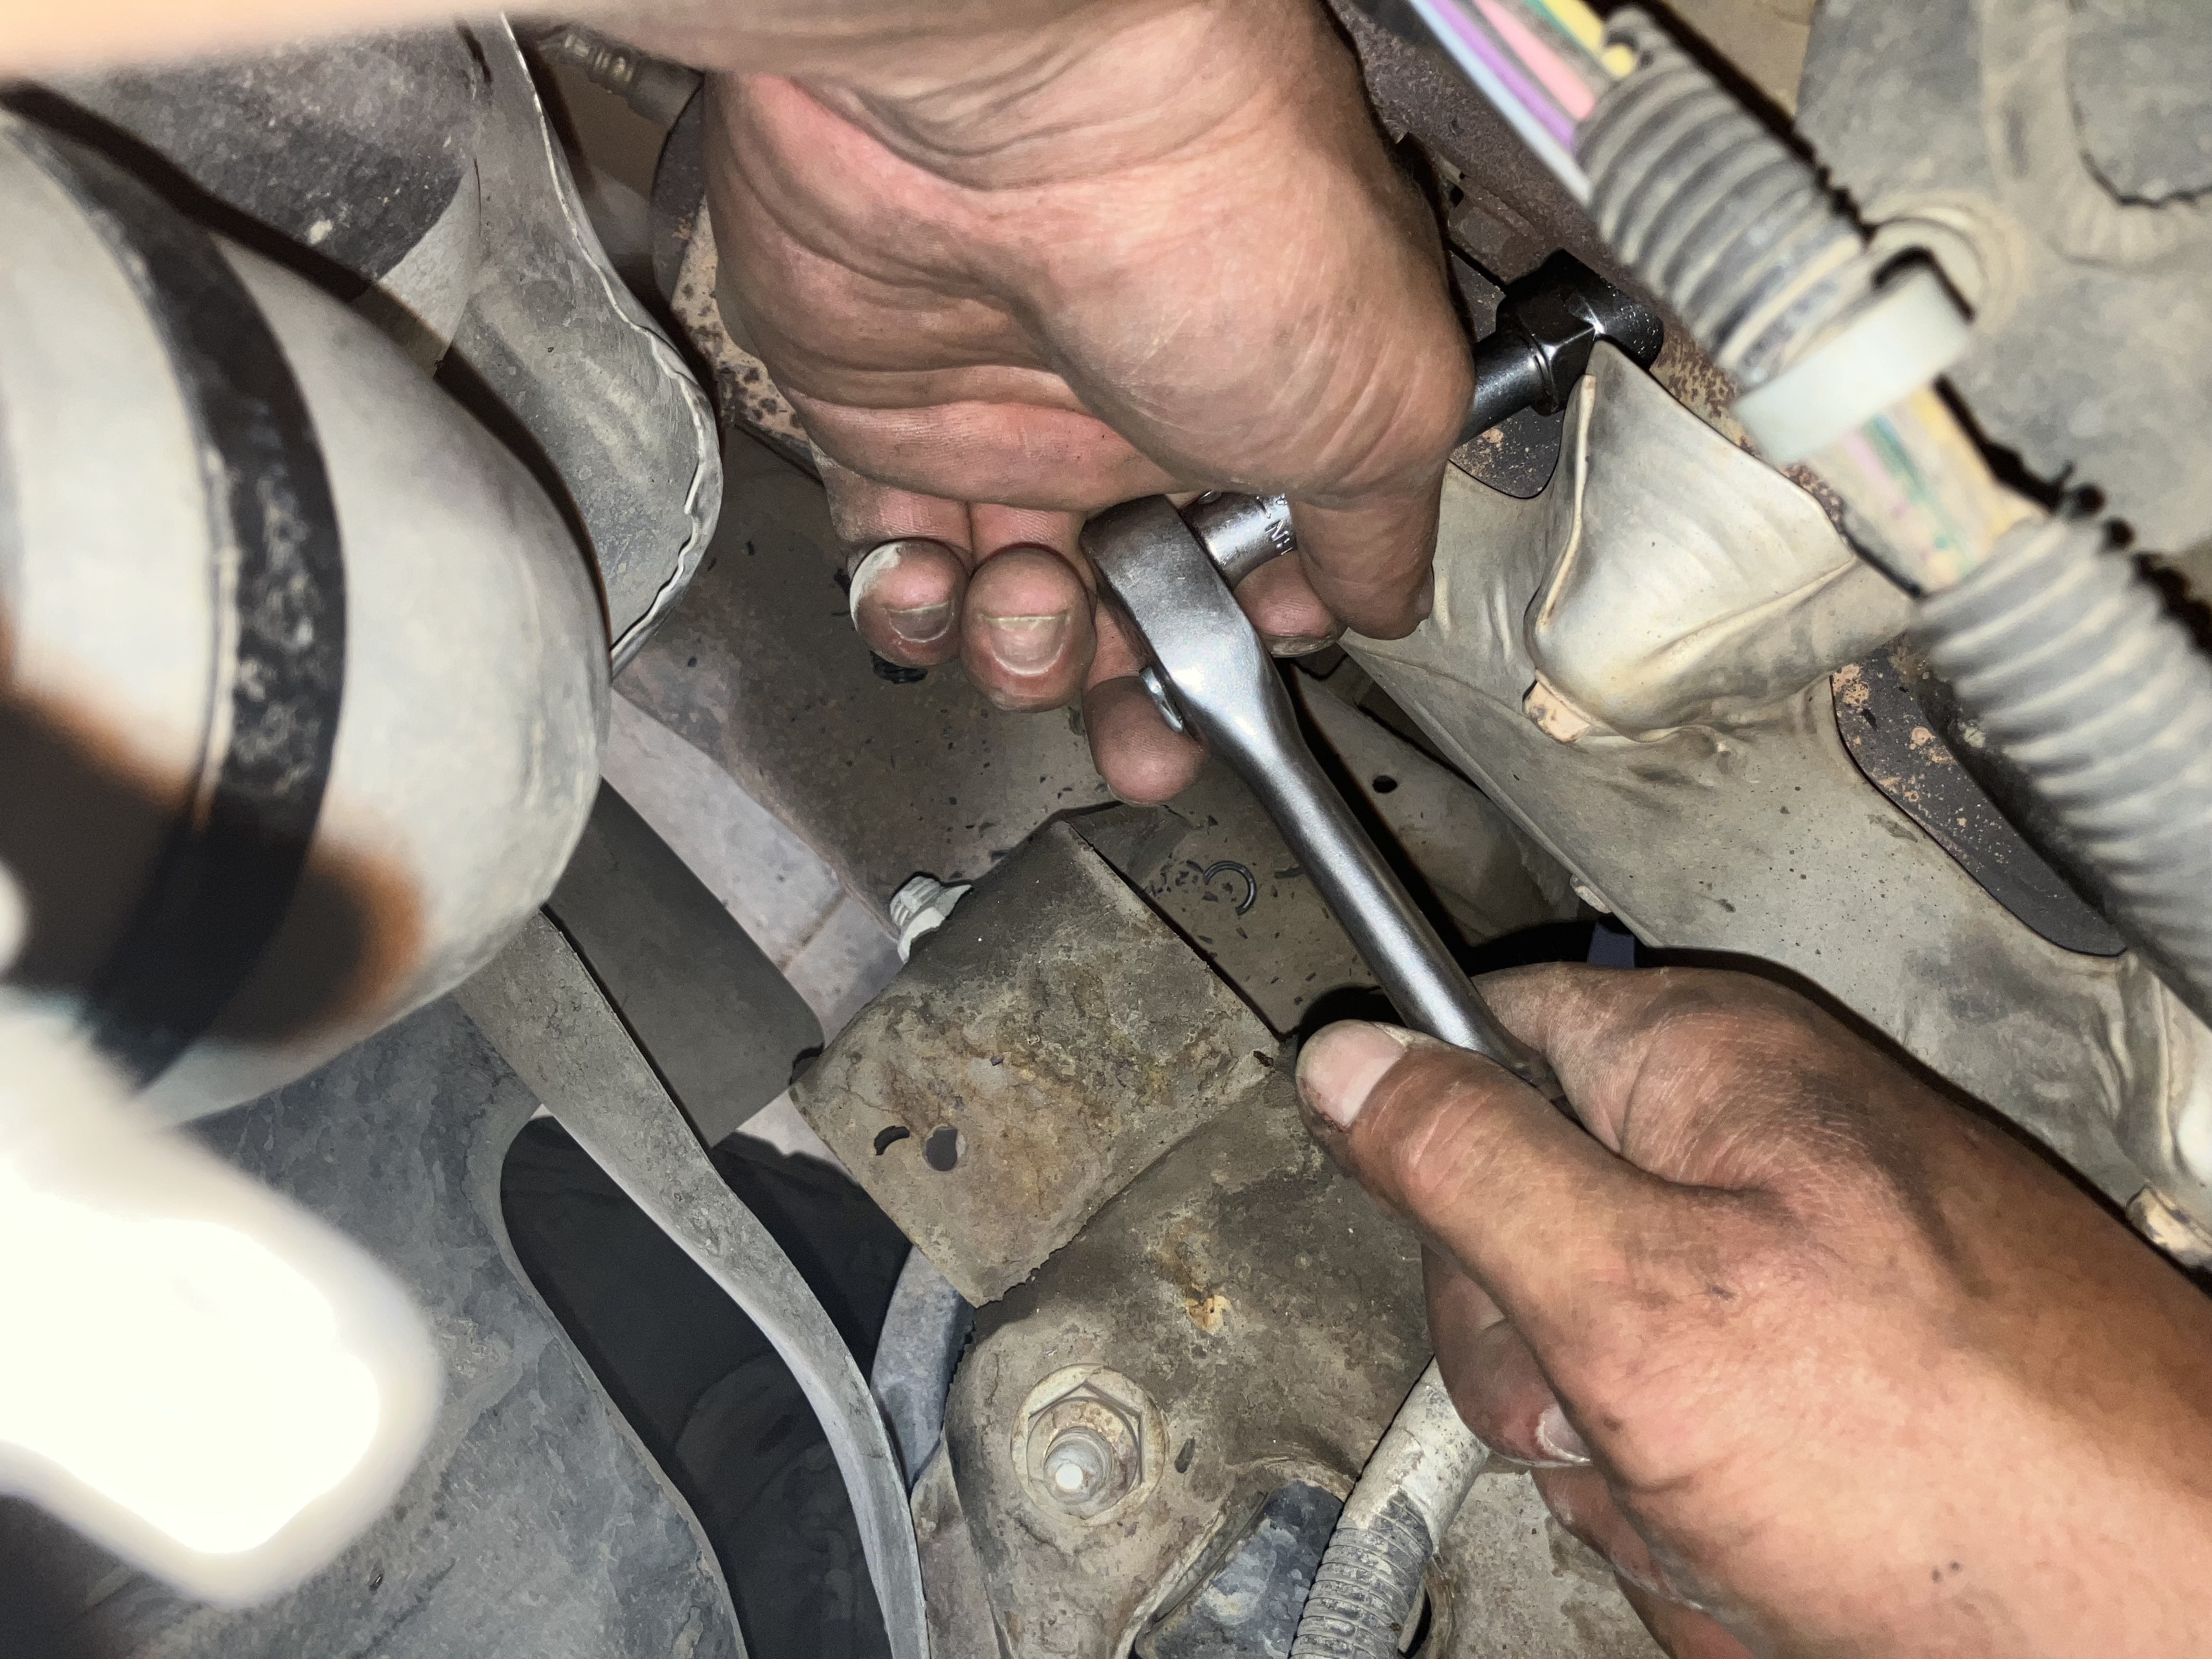
Tightening spark plugs is crucial. It is important to use one hand as a fulcrum on the ratchet head and one to do the torquing. Once the plug bottoms out, I like to give them a good 50 foot pounds of twist.
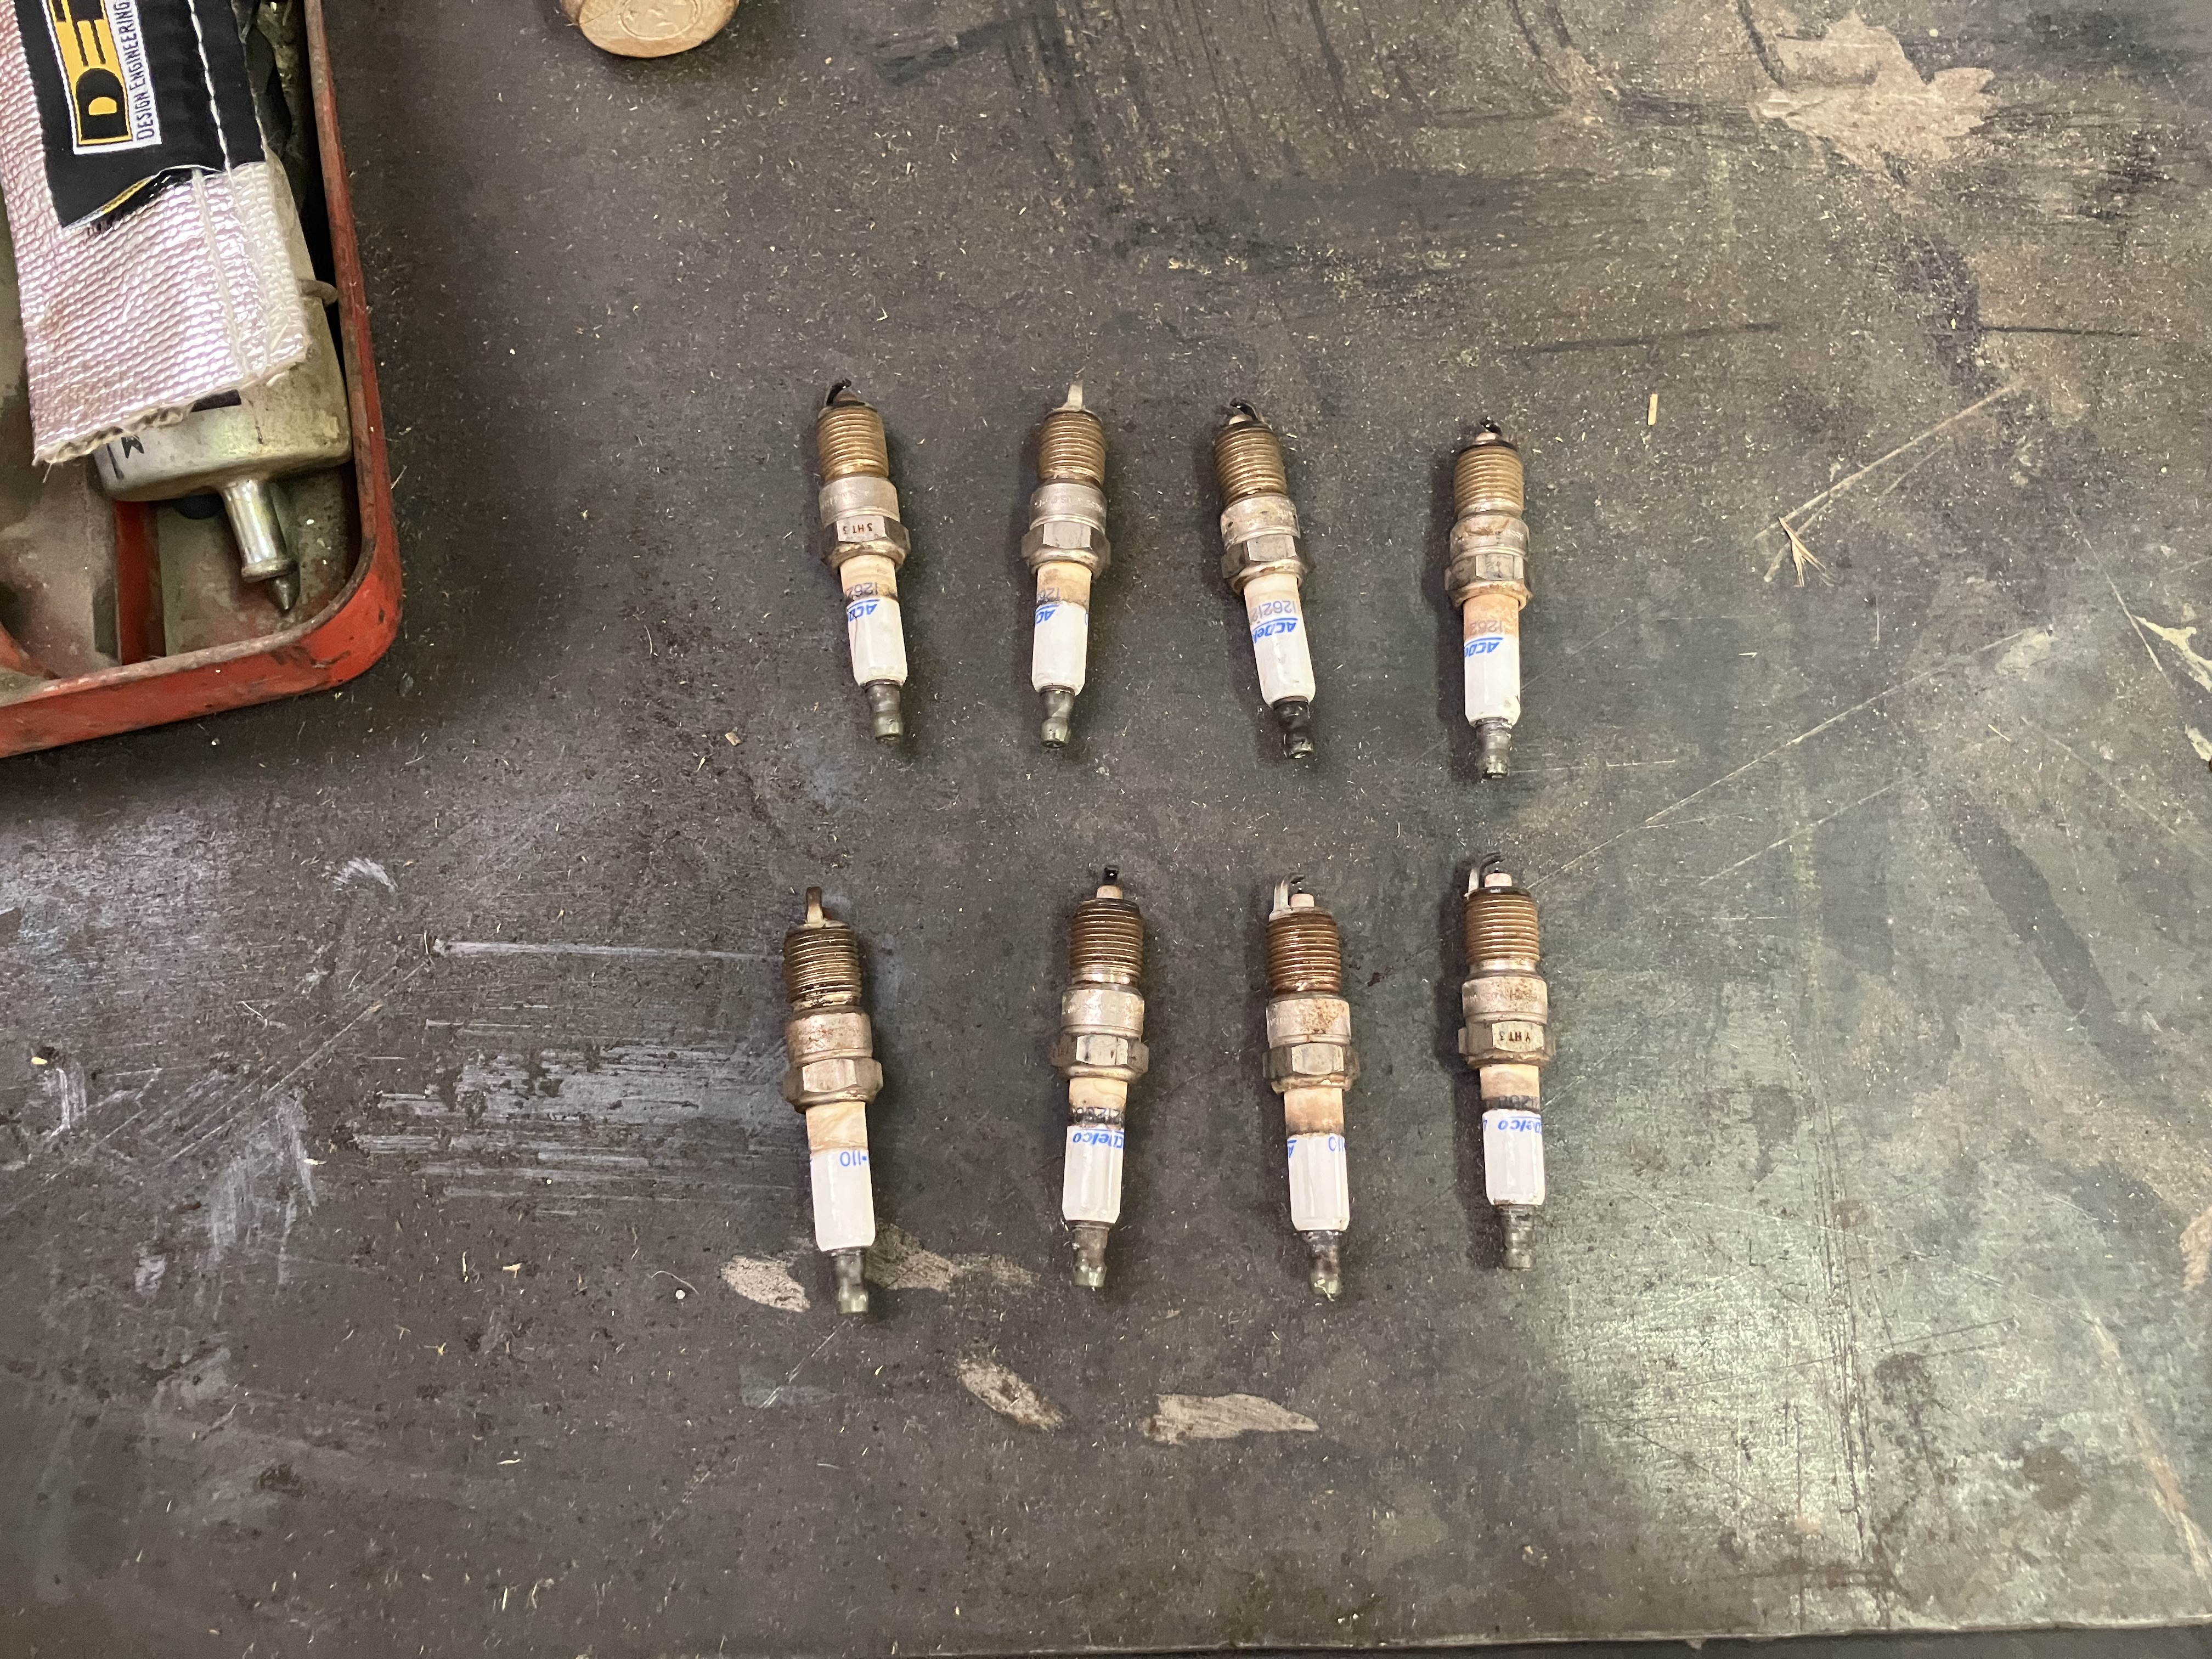
I also like to keep all the old plugs in order, so if you see one with some oddities you know which cylinder it came out of.
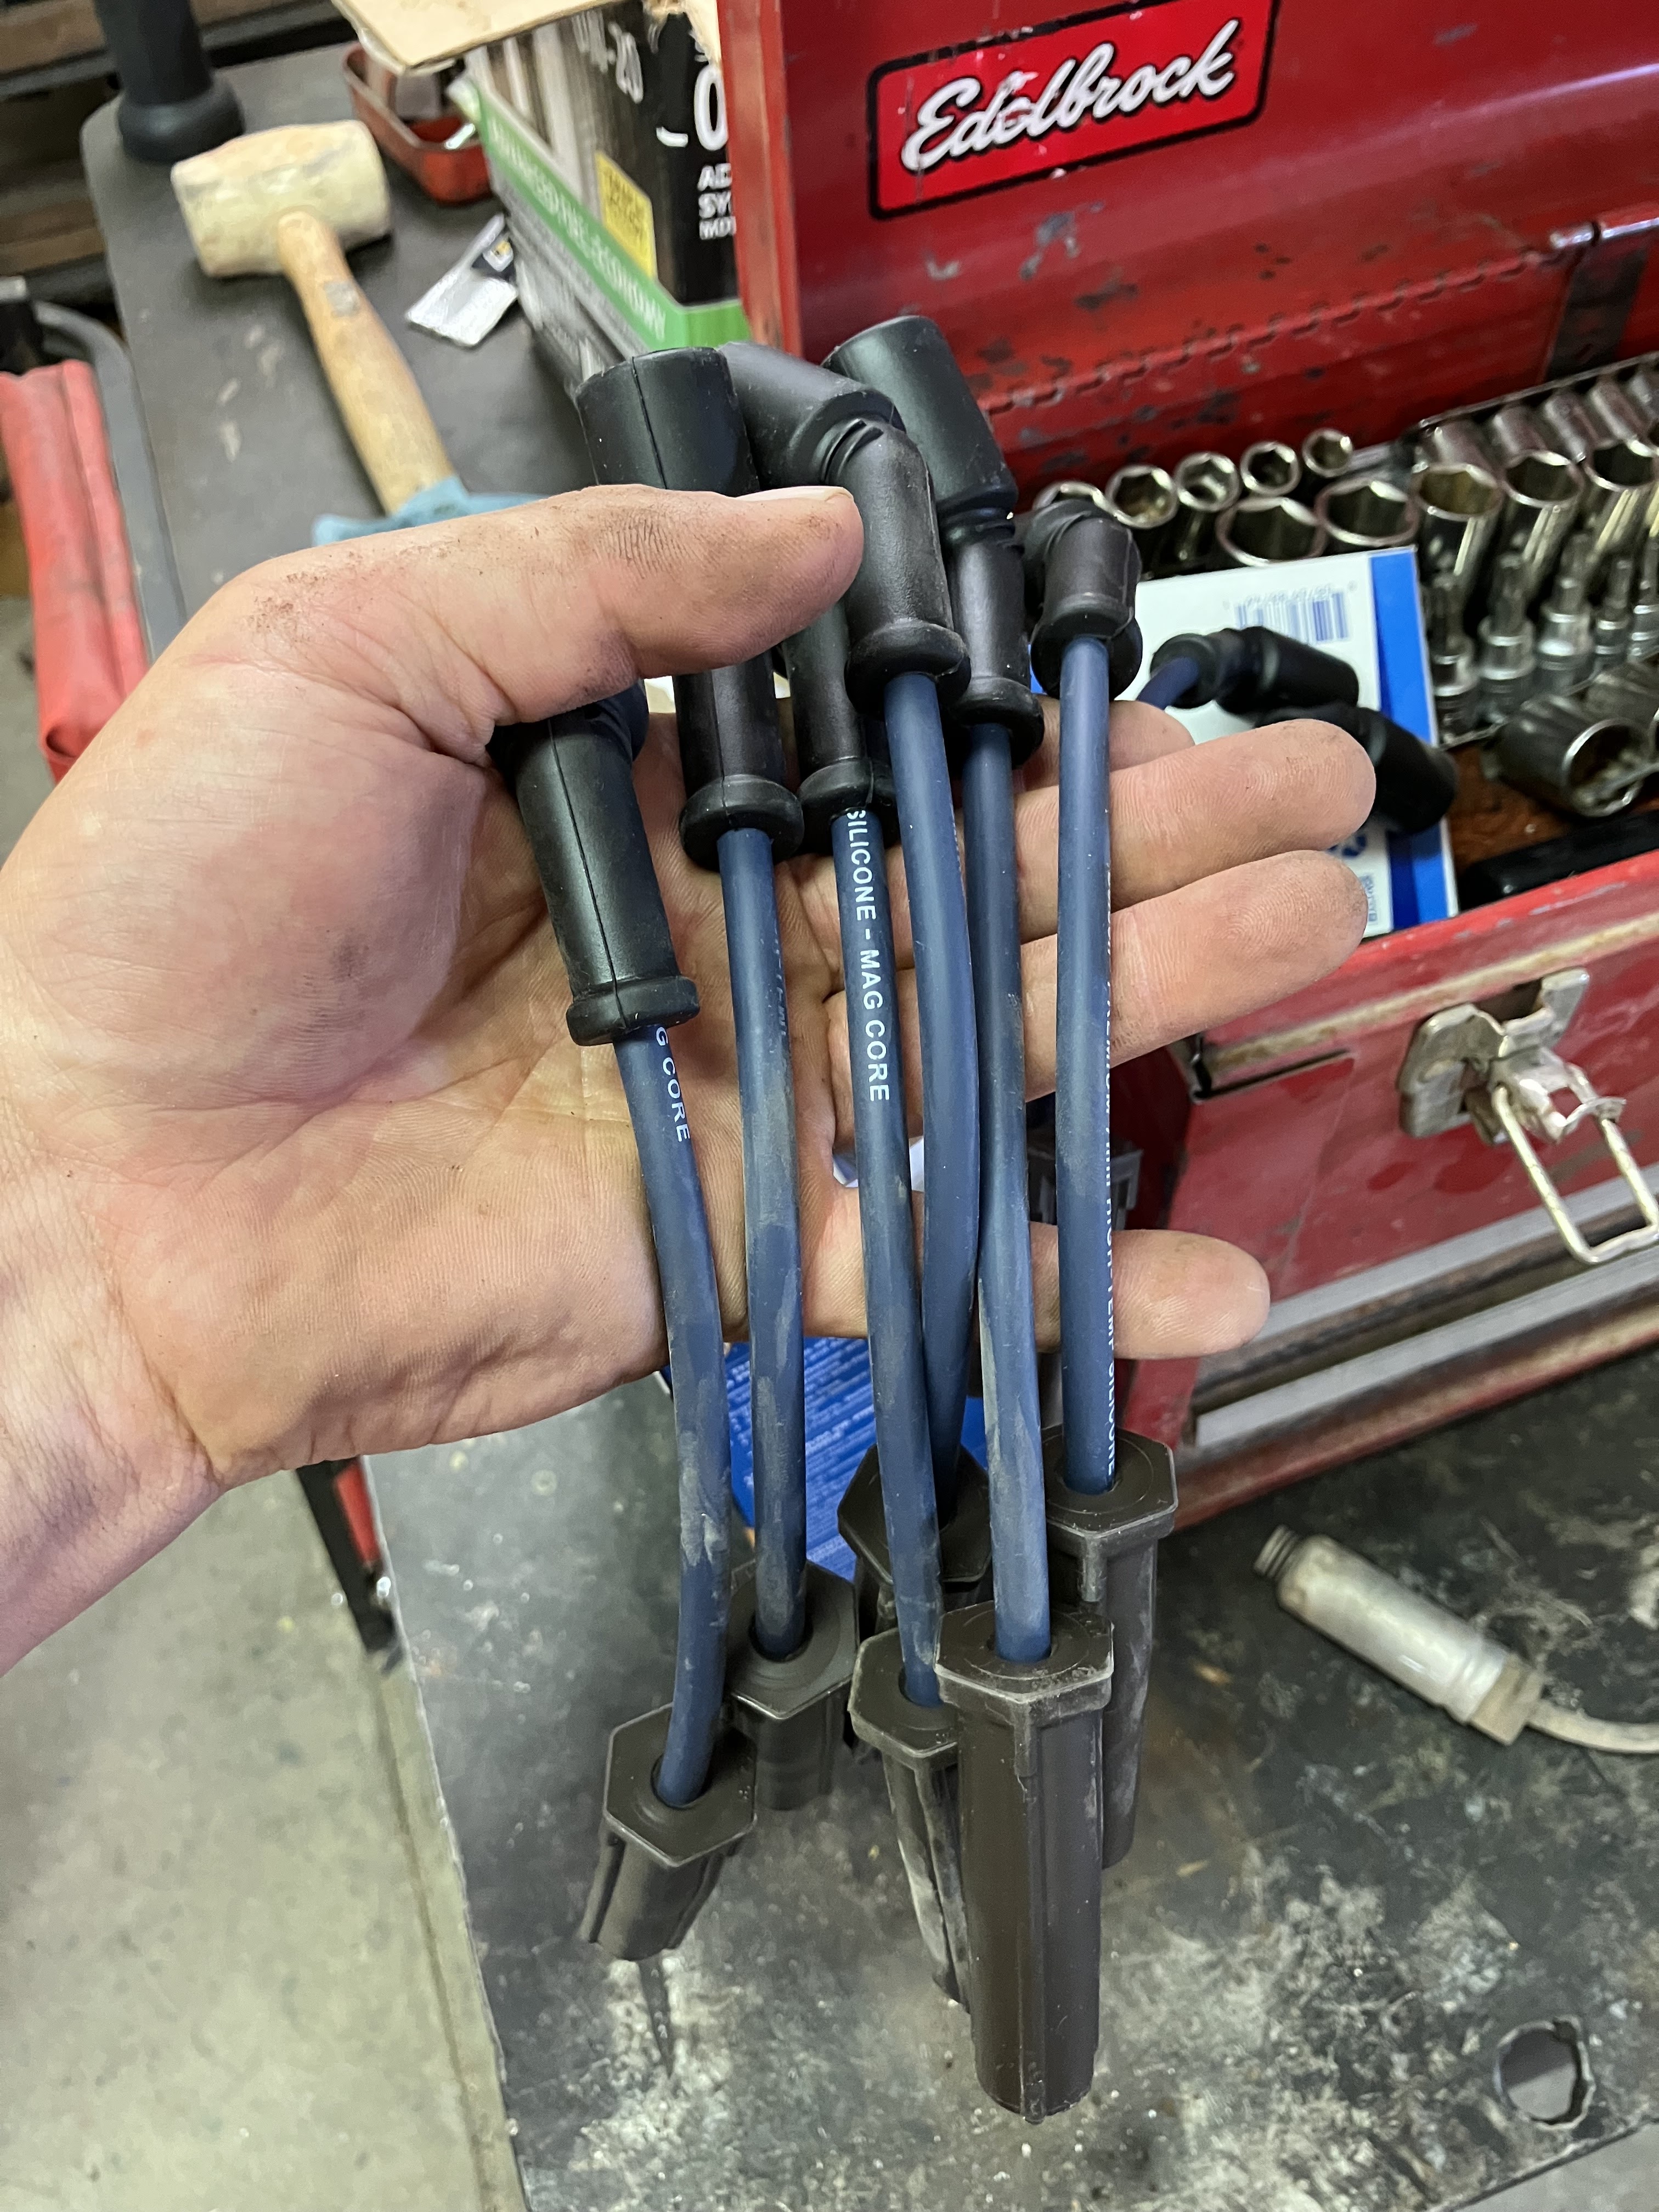
If you're going to New York, don't stop in Chicago. We've come this far, might as well replace the wires as well.
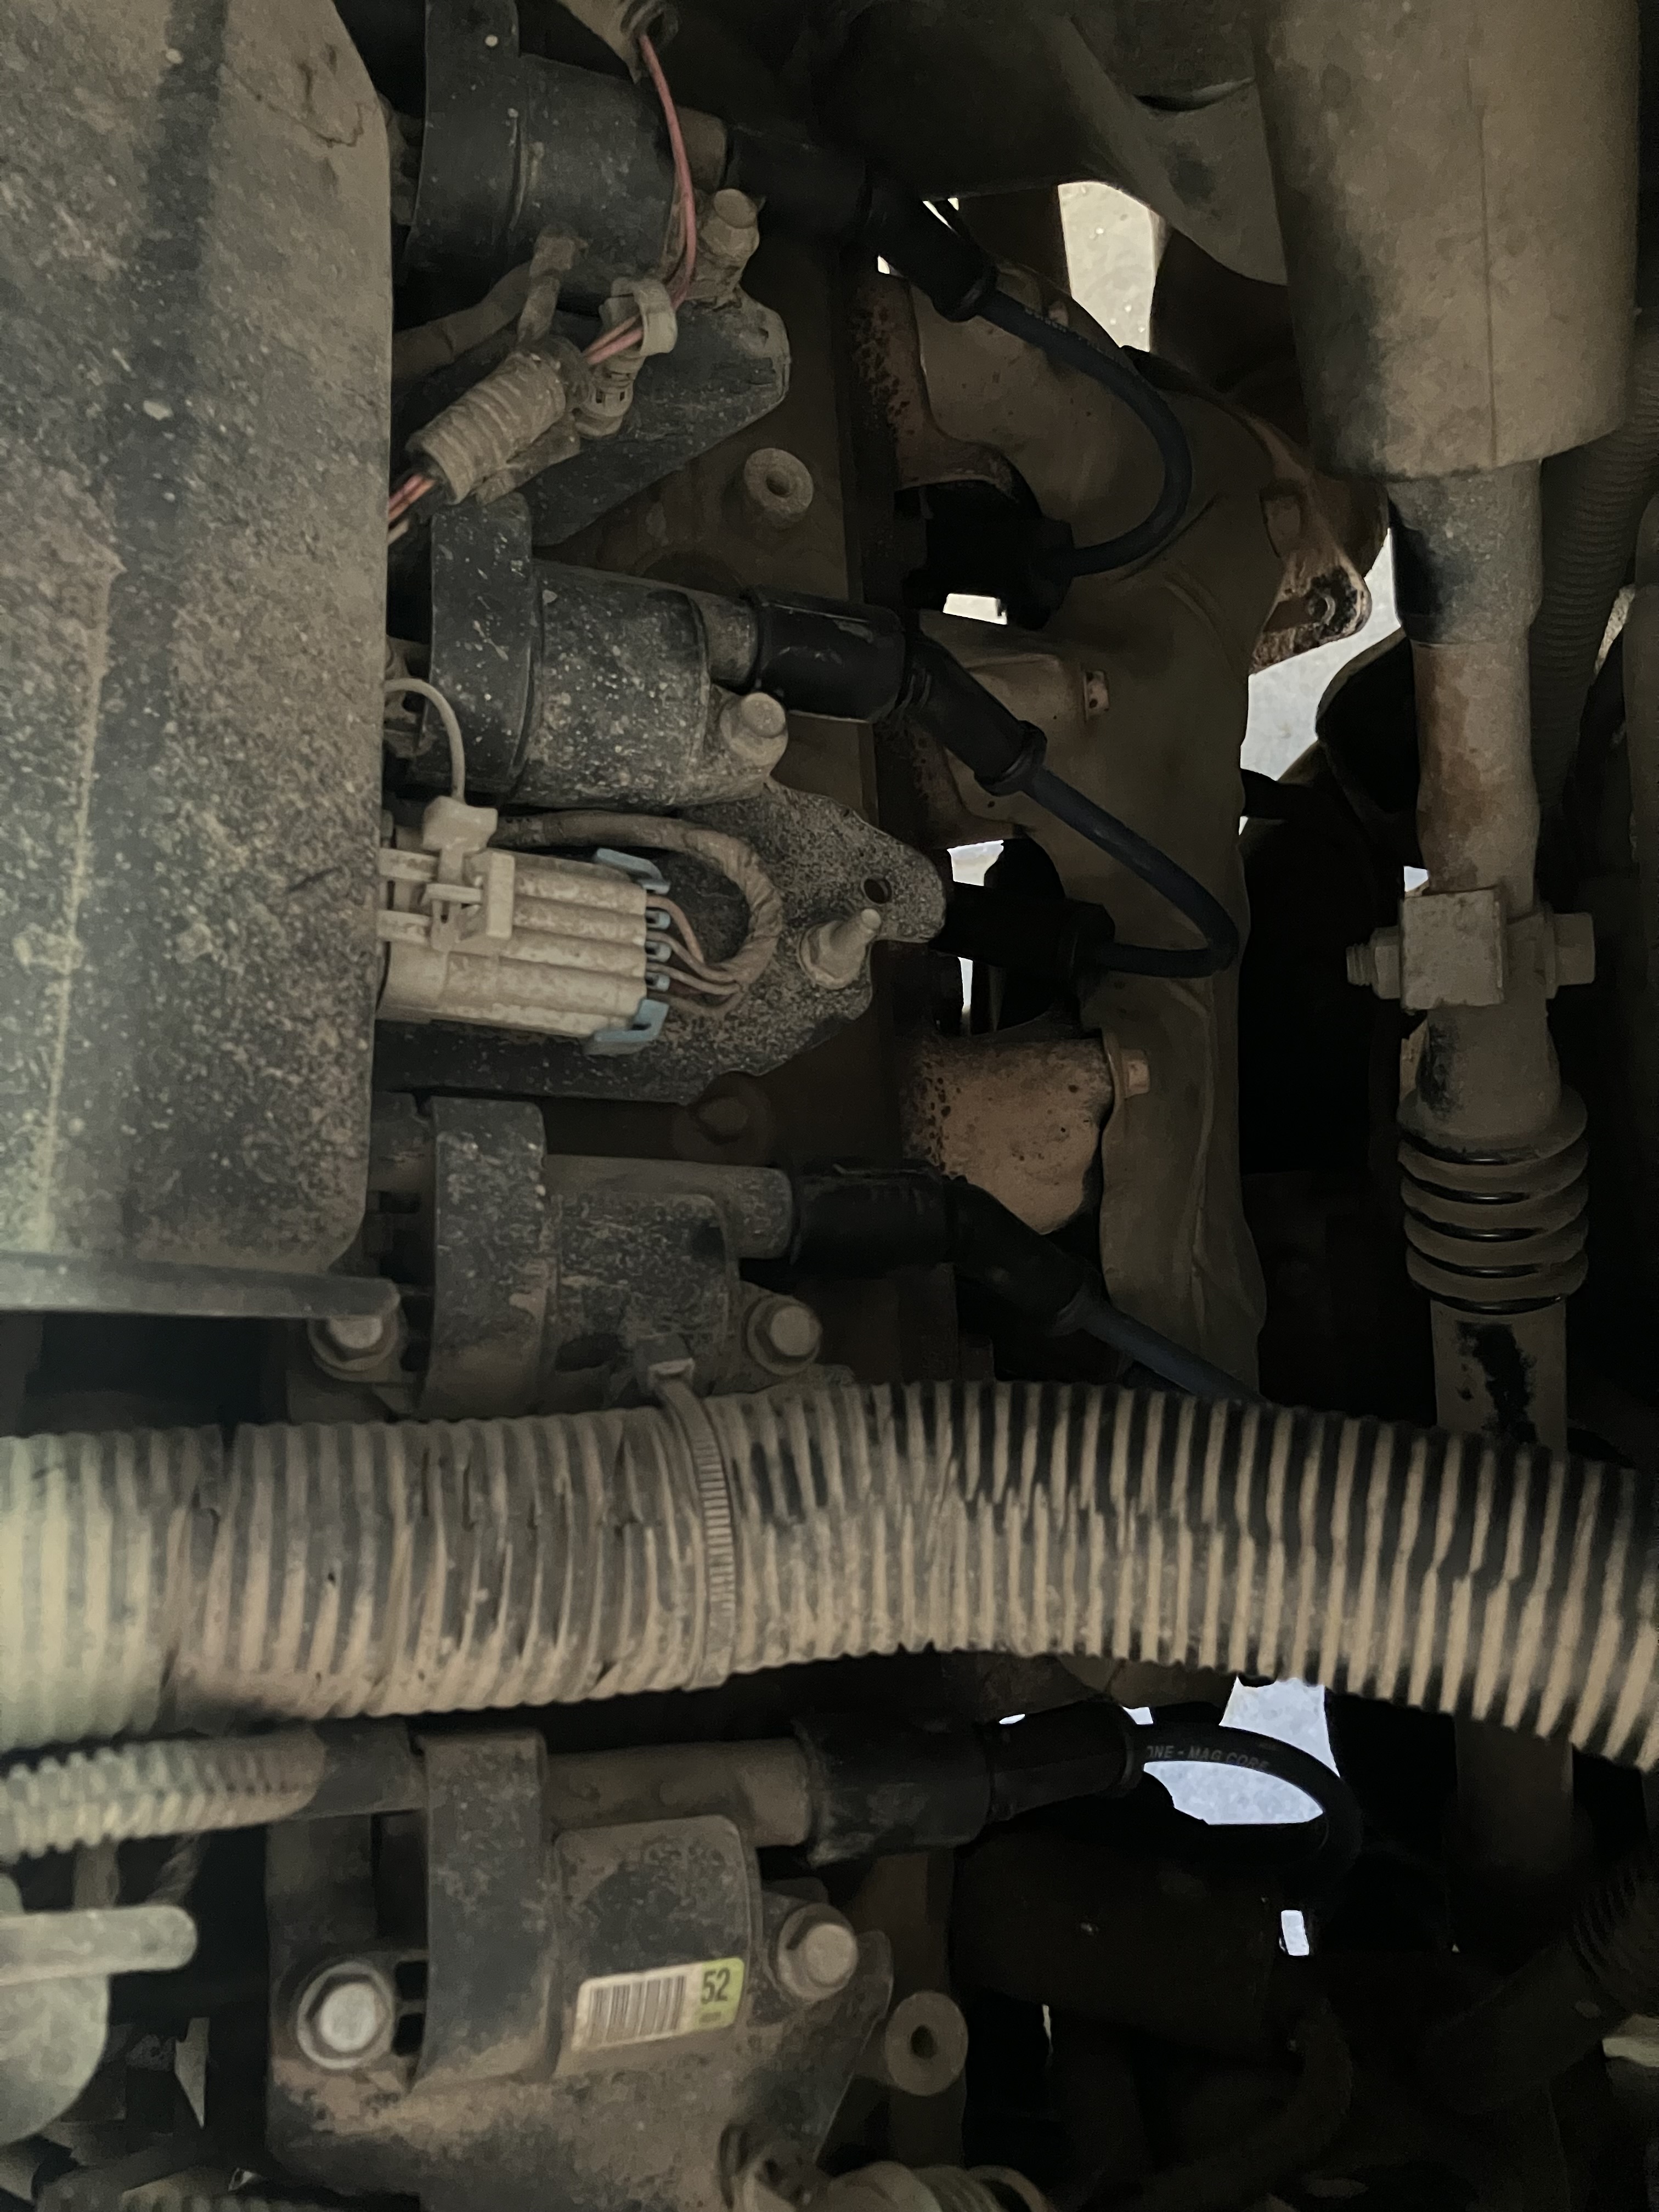
These newer vehicles don't have a distributer cap, but individual coils for every cylinder. Therefore, the plug wires are all the same length. Make sure every one has a good click sound on both ends as you install them.
Bring it.
Changing spark plugs and wires is a pretty easy tuneup. Usually you're not out too much cash. And as long as you don't foul anything up, it can only help things. That being said, there's no use doing it too soon. However, 225k miles the same spark plugs is probably long enough. With new territory to cover, we better be ready to run. Let's ride.
Subscribe to:
Comments (Atom)
Heavy Ranching
With the cows in the corral, we took time to put the final touches on the calving facility to make sure we are ranch ready. Scrambling is th...

-
Carmelite Monks? I thought there were only friars and nuns. Not in Wyoming. In 2003, through the inspiration of the Holy Spirit and the dire...
-
 Back in the fall of 2021 I received a call from Bear Woznick asking if I ever thought of writing a book. I told him, "I don't think...
 -
 The beauty about being Catholic is that everyone is family. The fun part of that is meeting new members. Carson Kitaf is a seminarian for th...
